Call/Text 647-882-7299 info@solidtouchinteriors.com Instagram Facebook
Solid Touch Interiors ST monogram
Solid Touch InteriorsIt Starts With a Good Finish.
Drywall Repairs About Our Work Process Get an Estimate
Drywall Repair • Durham Region & Surrounding Areas

Drywall damage?
Let's make it disappear.

Professional drywall repairs, patching, ceiling repairs and finishing with a clean result that blends back into your home.

Drywall Repair FocusHoles, cracks & ceilings
Durham RegionPlus surrounding areas
Clean FinishBuilt around the final result
Easy First StepSend photos of the damage
Solid Touch Interiors logo
About Solid Touch

Good work starts with respect for the finish.

Solid Touch Interiors is a Durham Region-based interior finishing company focused on professional drywall repair, finishing and clean interior transformations. We take pride in protecting the home, communicating clearly and delivering a finish that blends back into the space properly.

We primarily serve Durham Region and surrounding areas, with select projects considered throughout the GTA depending on the scope of work.

Durham-basedFocused locally, with flexibility for the right project.
Finish-focusedThe repair matters. The final result matters more.
Respectful work areasProtection and containment are part of the job.
Clear first stepSend photos so we can understand the repair before we talk scope.
What We Repair

Start with the repair. Stay for the finish.

We make the small problems easy to deal with — then, if the room needs painting, trim or additional finishing, you already have someone you can call.

02

Ceiling Repairs

Small ceiling openings, previous fixture locations, access holes and damaged areas ready for a smooth finish.

03

Cracks & Nail Pops

Repairing visible defects properly instead of simply covering the problem with another coat of paint.

04

Drywall Finishing

Taping, mudding, sanding and finishing for new drywall or repairs that need to be brought to paint-ready condition.

Have Something Like This?

You don't need to know the drywall terminology.

Take a few photos, tell us roughly how big the damaged area is and what city you're in. We'll help you figure out the best next step.

✓Hole left after plumbing or electrical work
✓Damaged drywall around vents, switches or fixtures
✓Small ceiling opening or previous light location
✓Cracked drywall, nail pops or damaged corners
✓A patch that was repaired poorly and still shows
Prefer to Reach Out Directly?

Call, text or email Solid Touch.

For quick questions or to discuss a repair before sending the form, use whichever contact method is easiest for you.

Request an Estimate

Start with a photo.

Tell us what needs to be repaired and upload a few photos. Your request goes directly into our lead system so we can review the job and follow up.

You can upload up to 5 photos. Large phone photos are compressed before sending. Your information is used only to review and respond to your request. Privacy Policy
Real Solid Touch Work

See the repair from damage to finished surface.

These are real Solid Touch drywall repairs. The portfolio shows both the process and finished results so homeowners can see how openings are rebuilt, protected, reinforced, feathered and blended back into the room.

Wall Access Repair

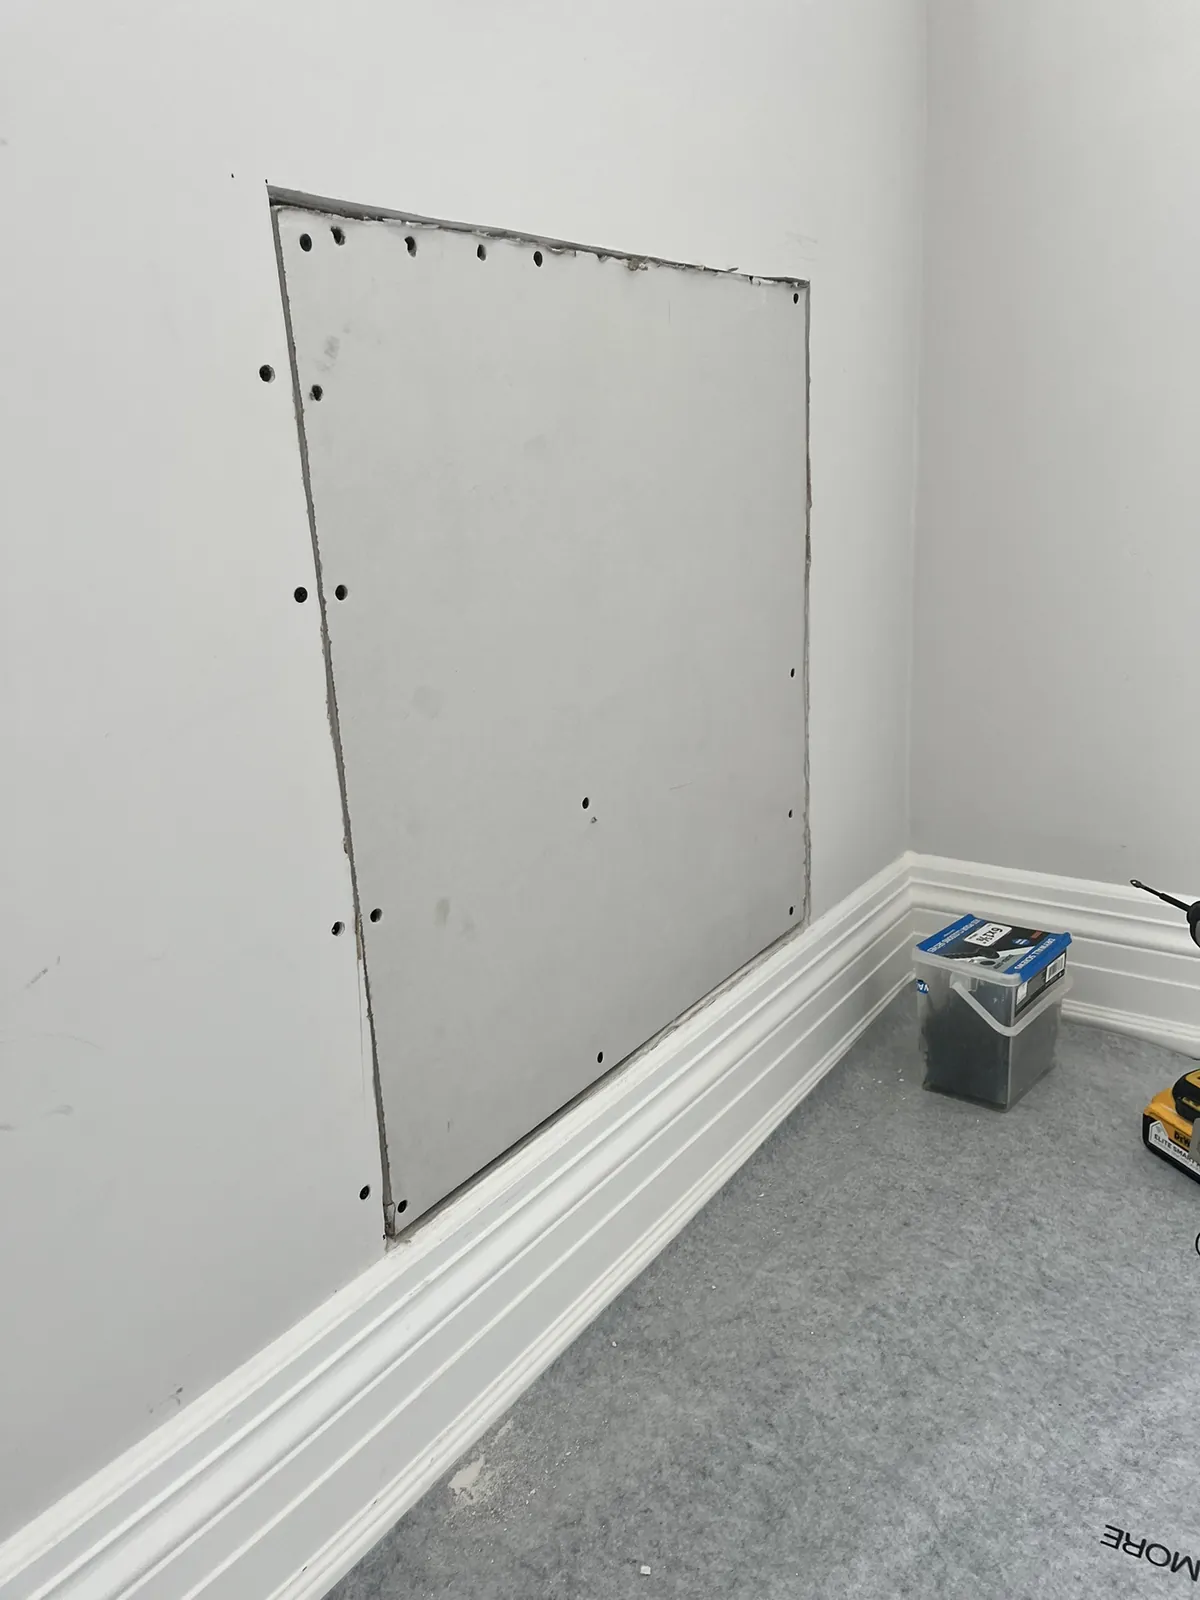
Large wall opening repaired around existing trim.

A sizeable access opening was closed back in while keeping the existing baseboard and surrounding finishes intact. This sequence shows the opening, new board, finishing coats and the later finish stage after the heavy repair work was complete.
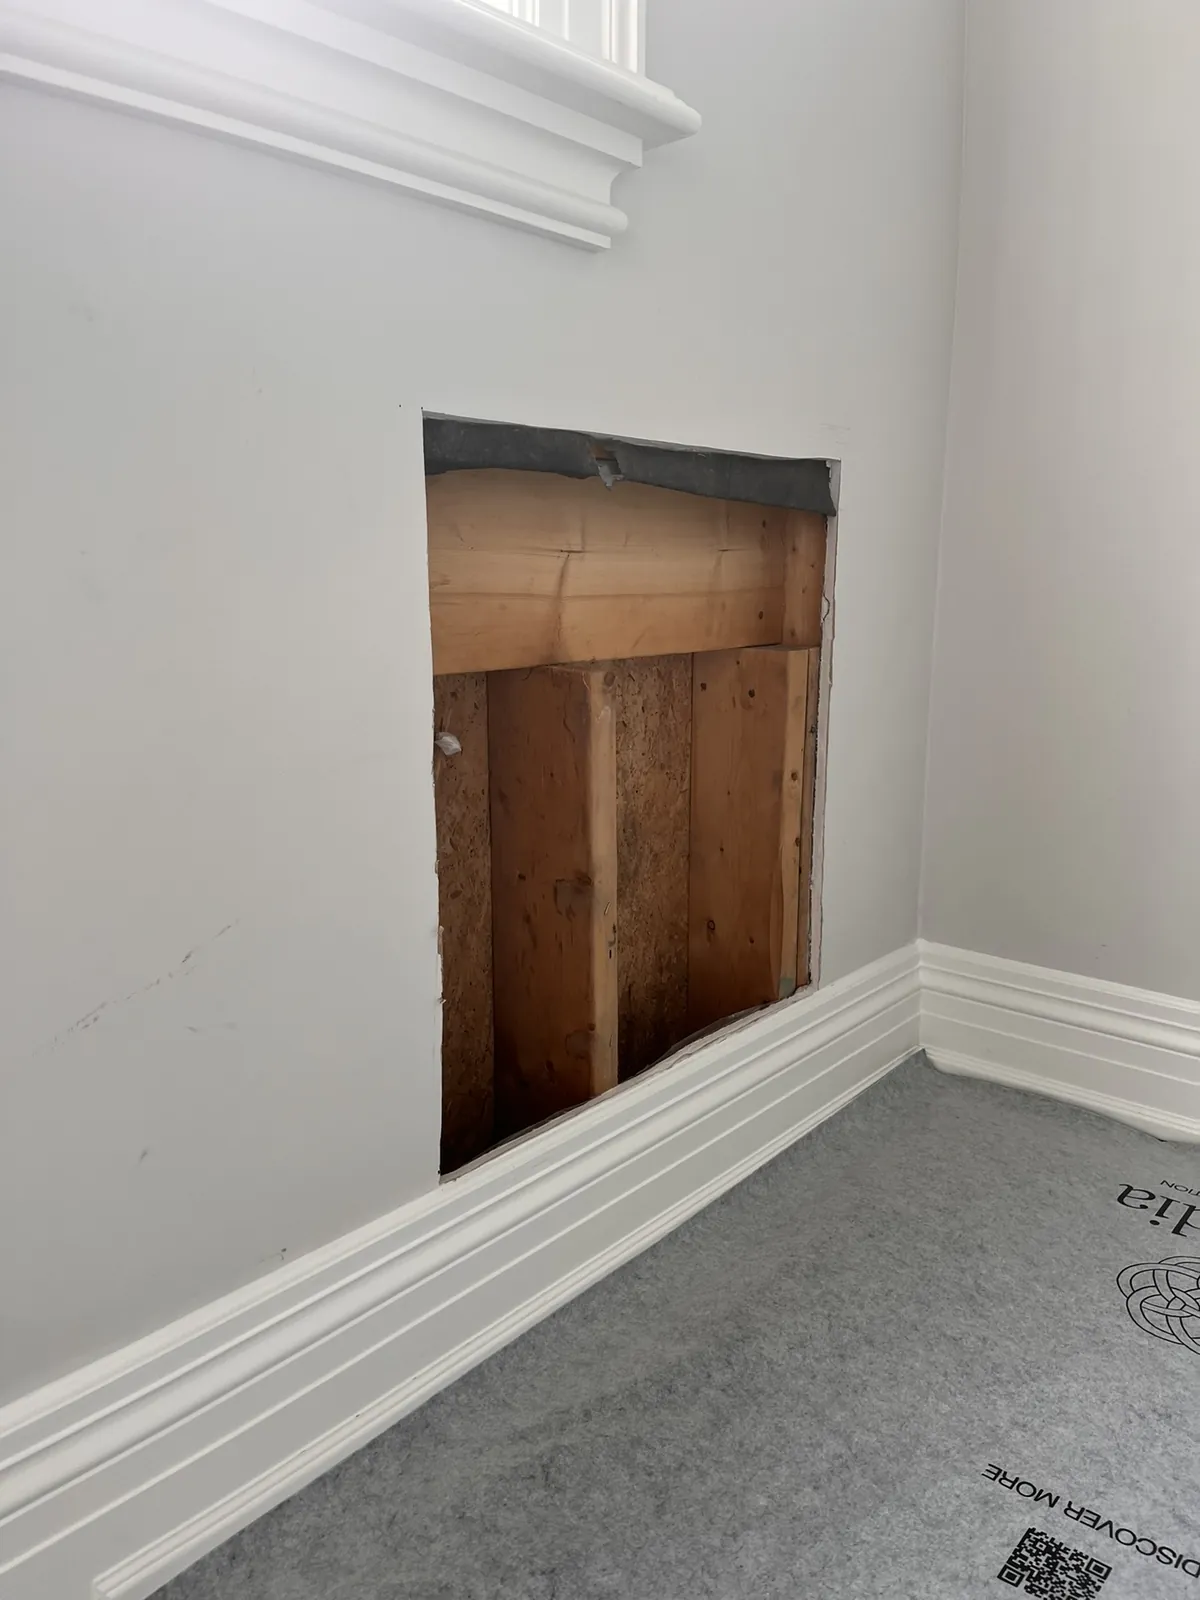
Large wall opening before drywall repair
Stage 1Open Wall
Drywall board installed over wall opening
Stage 2Board Installed
Wall repair during drywall finishing
Stage 3Coated & Feathered
Wall repair at later finishing stage
Stage 4Finish Stage
Ceiling Access Repair

Ceiling opening rebuilt around an existing pot light.

The ceiling was opened for access, re-boarded around the existing light and finished across a wider area so the patch could blend back into the surrounding ceiling instead of reading like a small square repair.
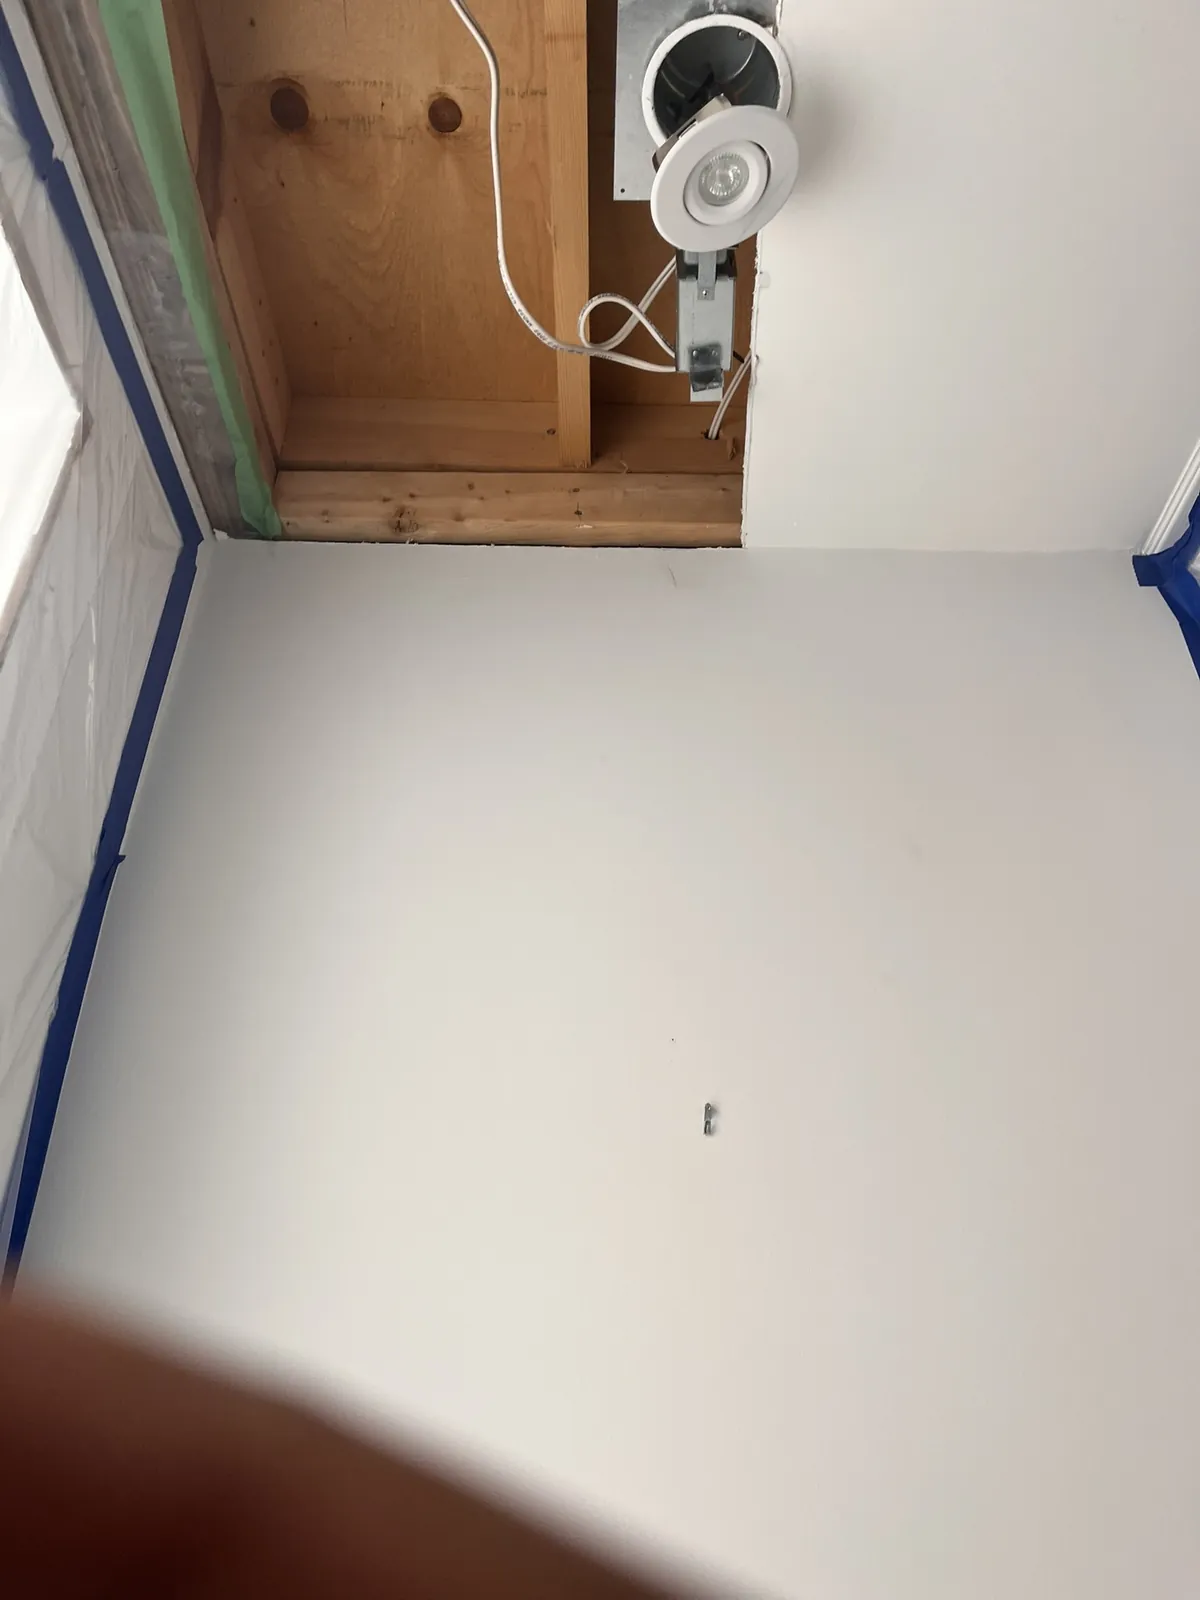
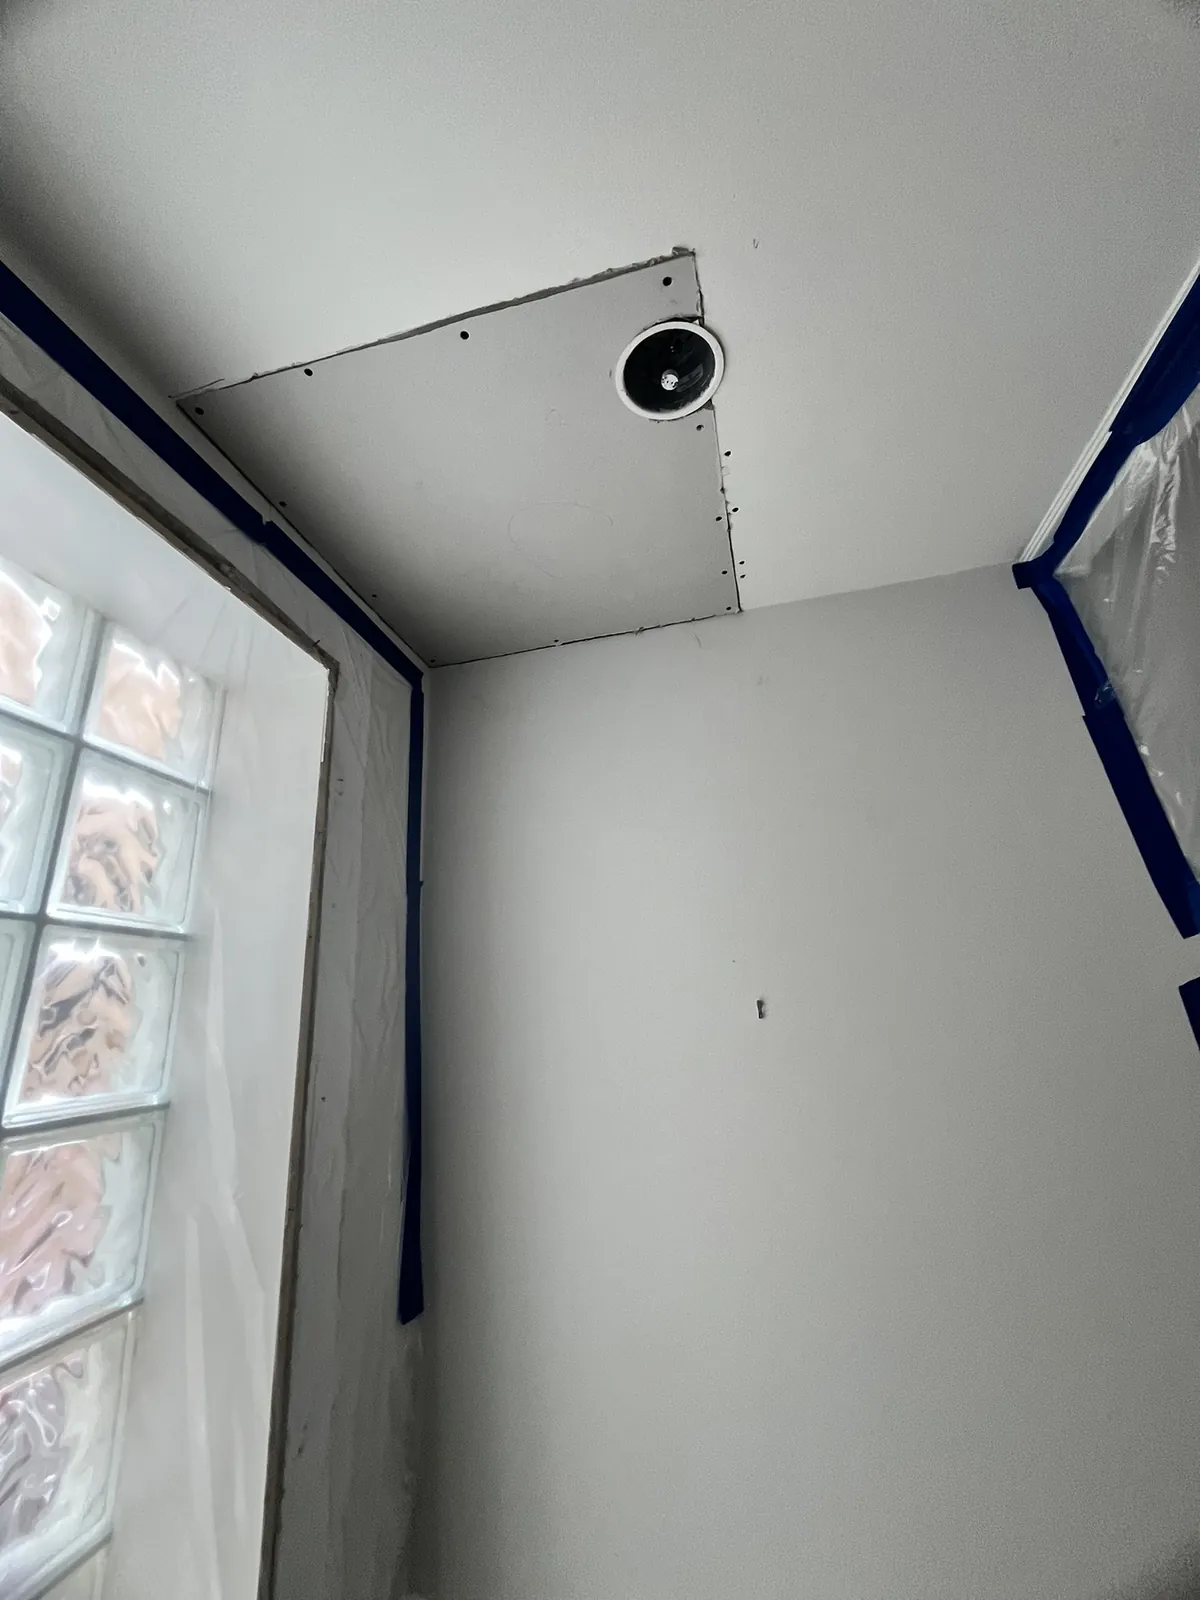
Open ceiling before drywall repair
Stage 1Open Ceiling
Ceiling drywall patch installed around pot light
Stage 2Board Installed
Ceiling repair during finishing coats
Stage 3Coated & Feathered
Ceiling repair at later finishing stage
Stage 4Finish Stage
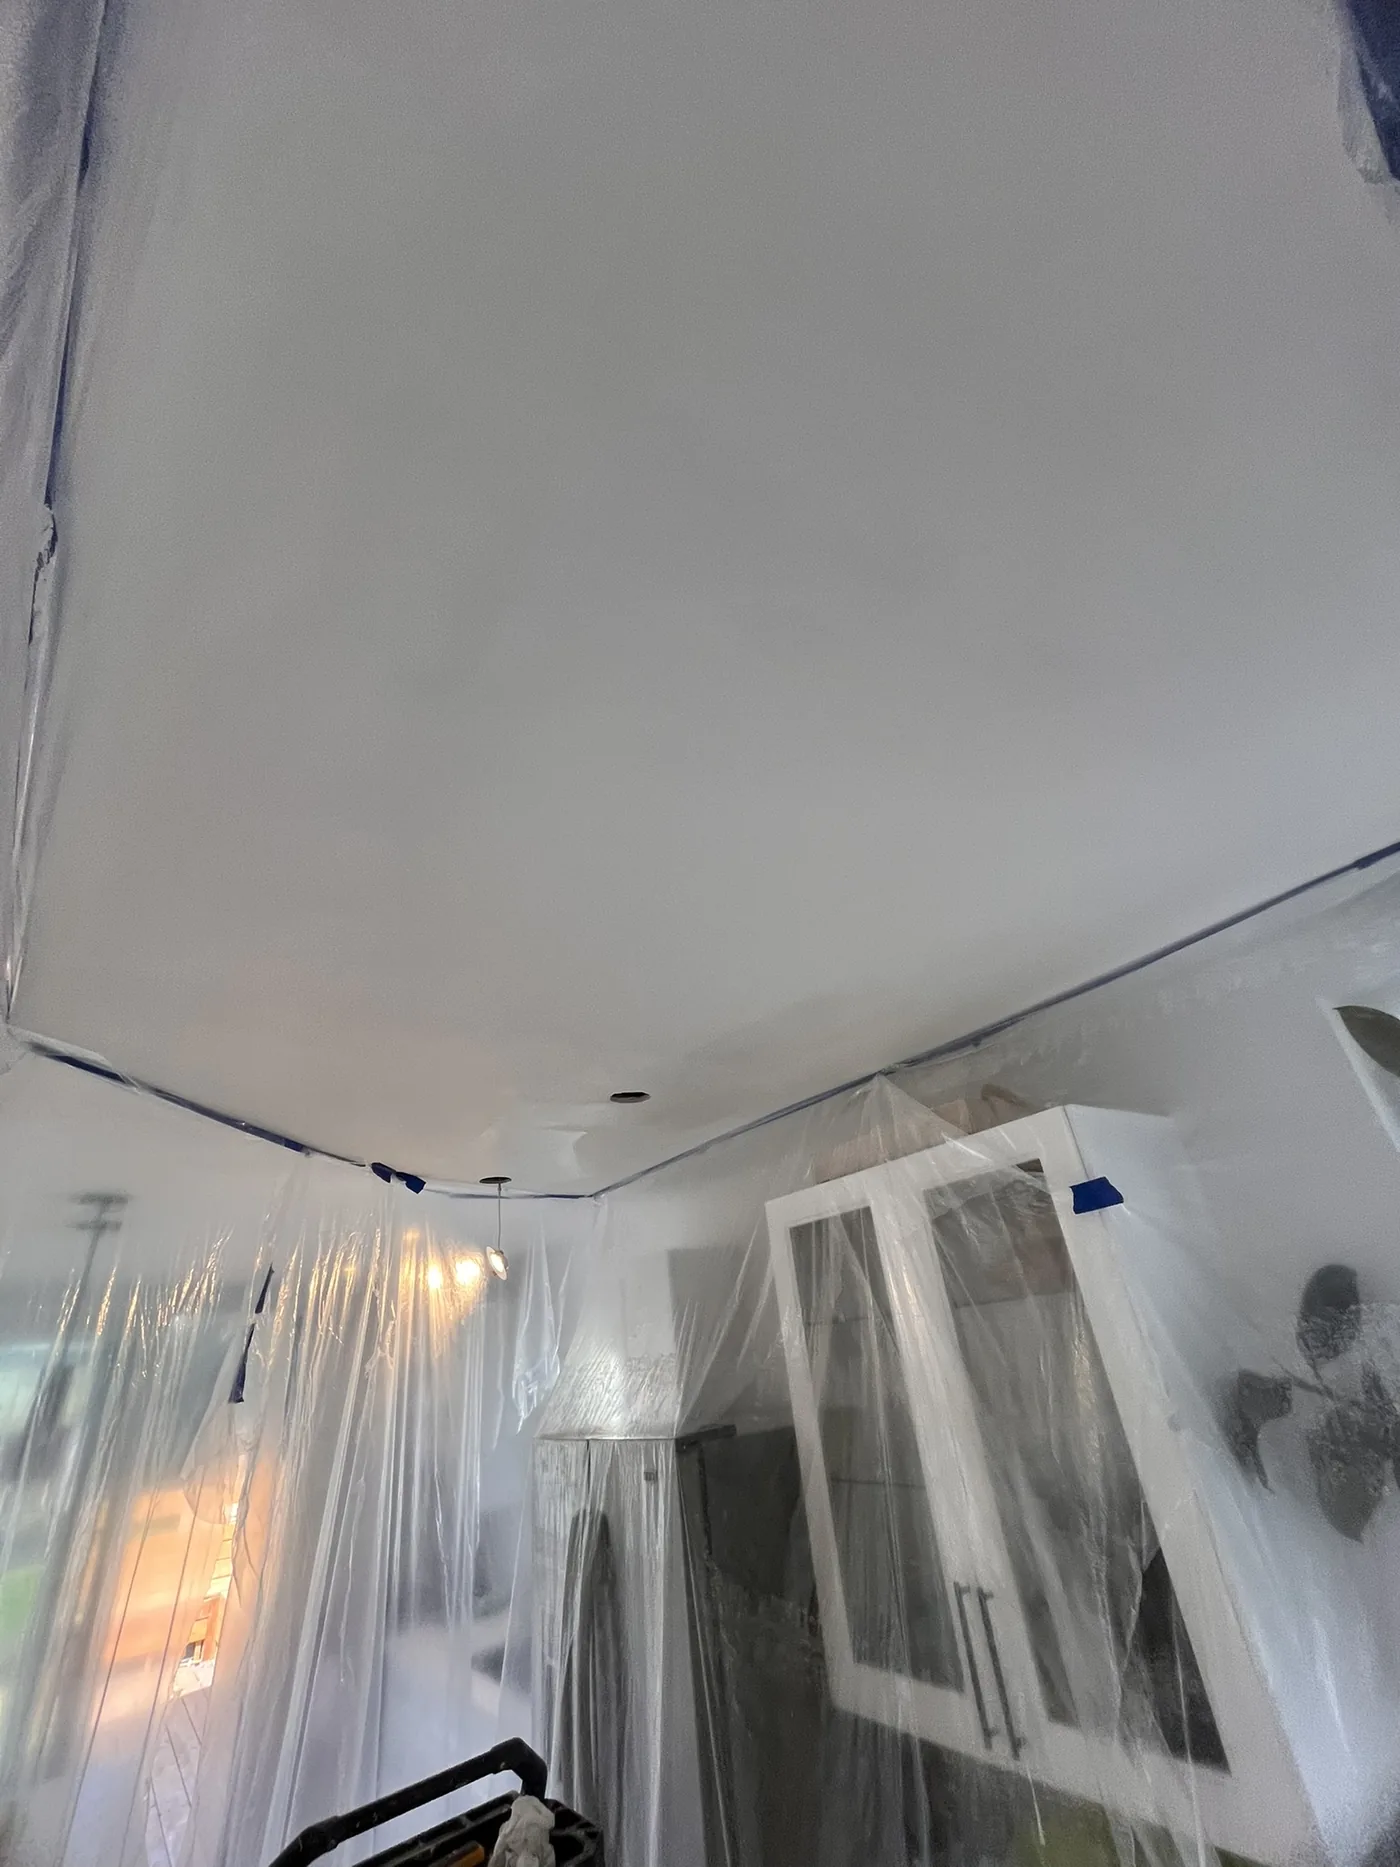
Kitchen Ceiling Repair

Large ceiling patch completed inside a protected living space.

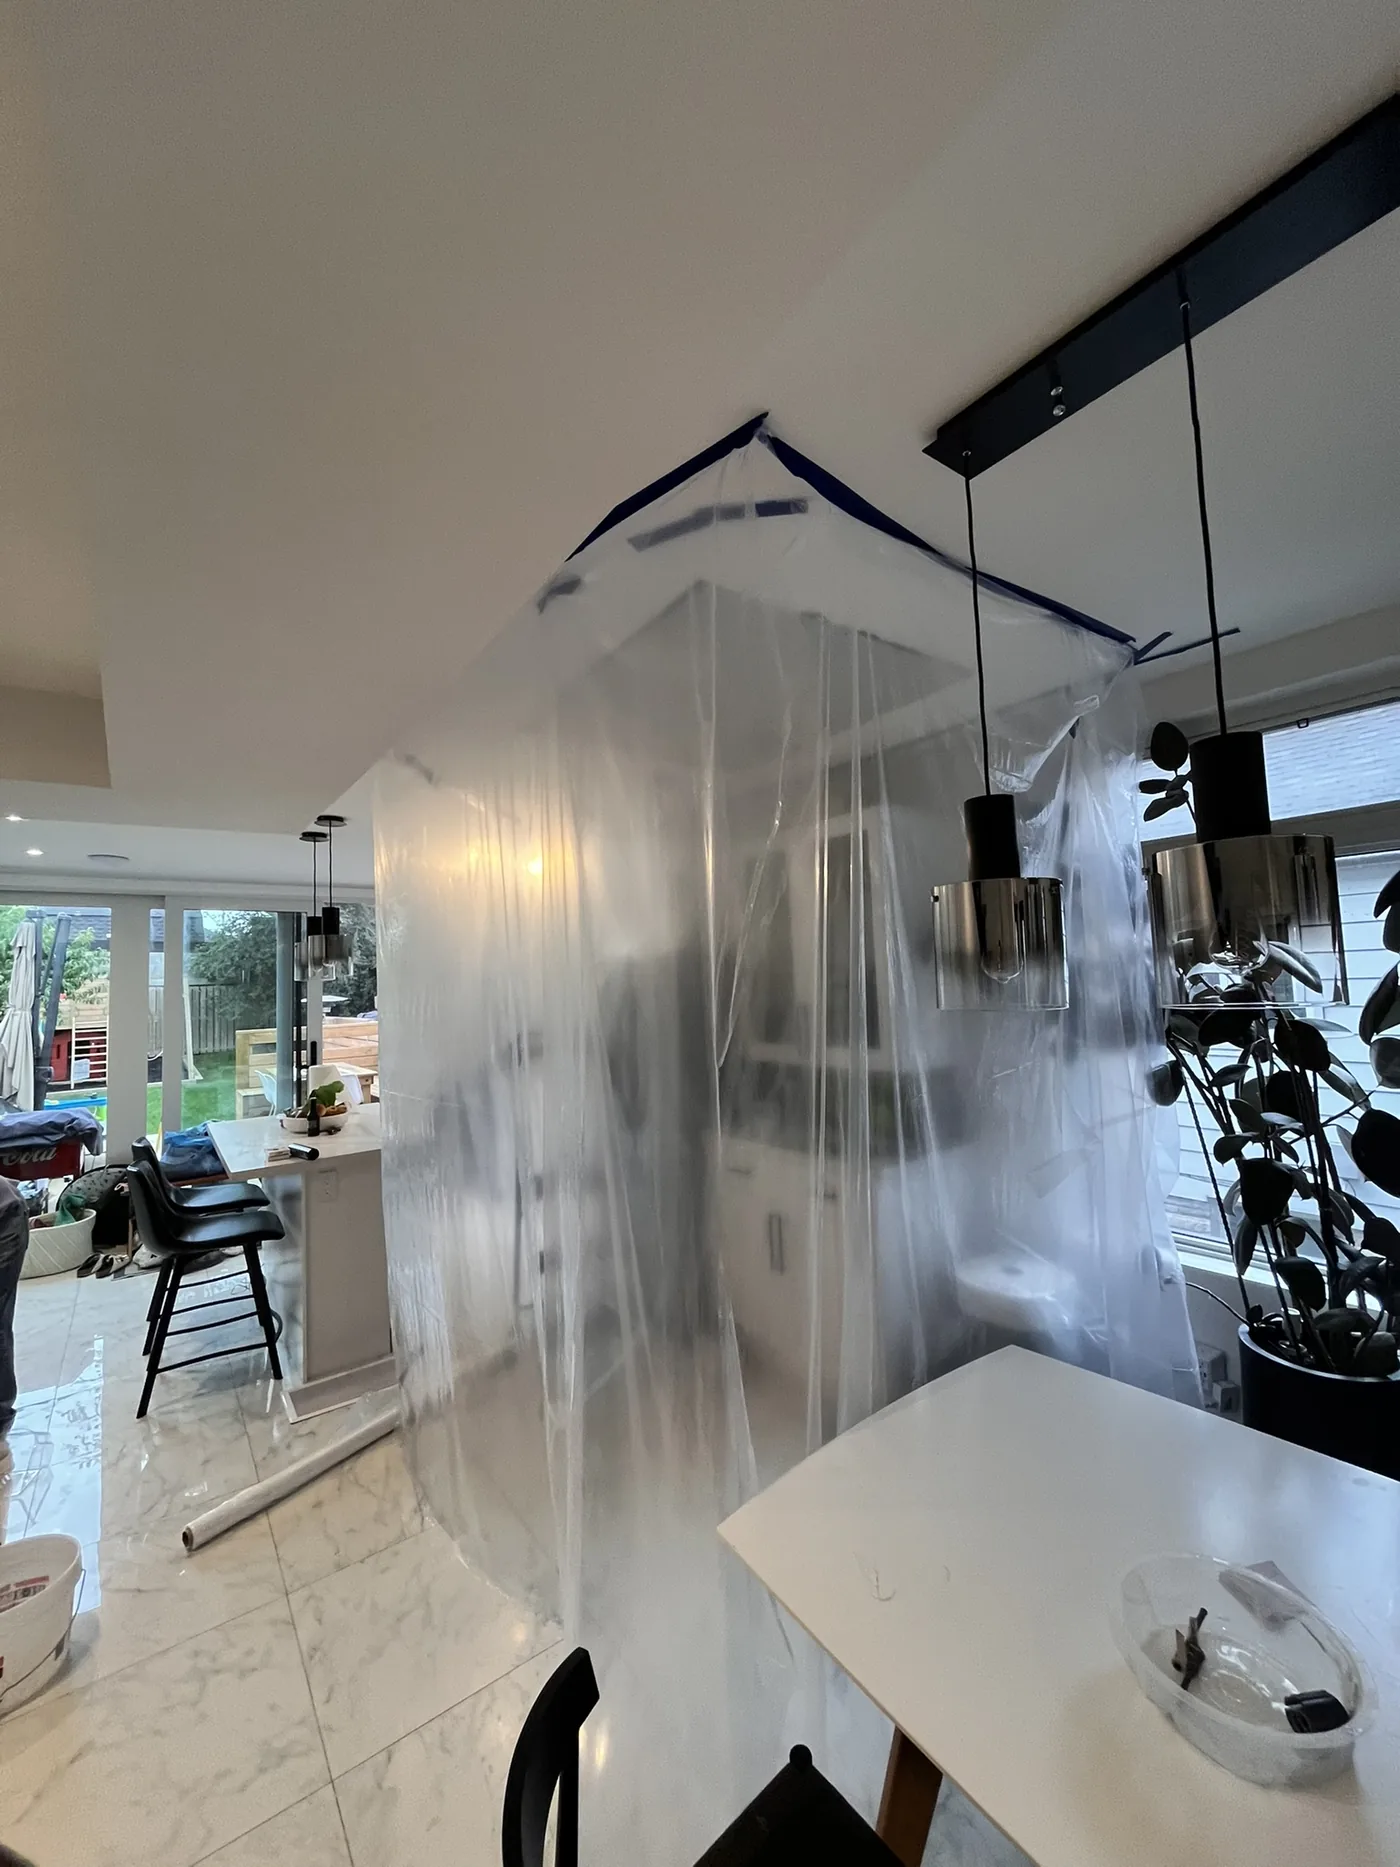
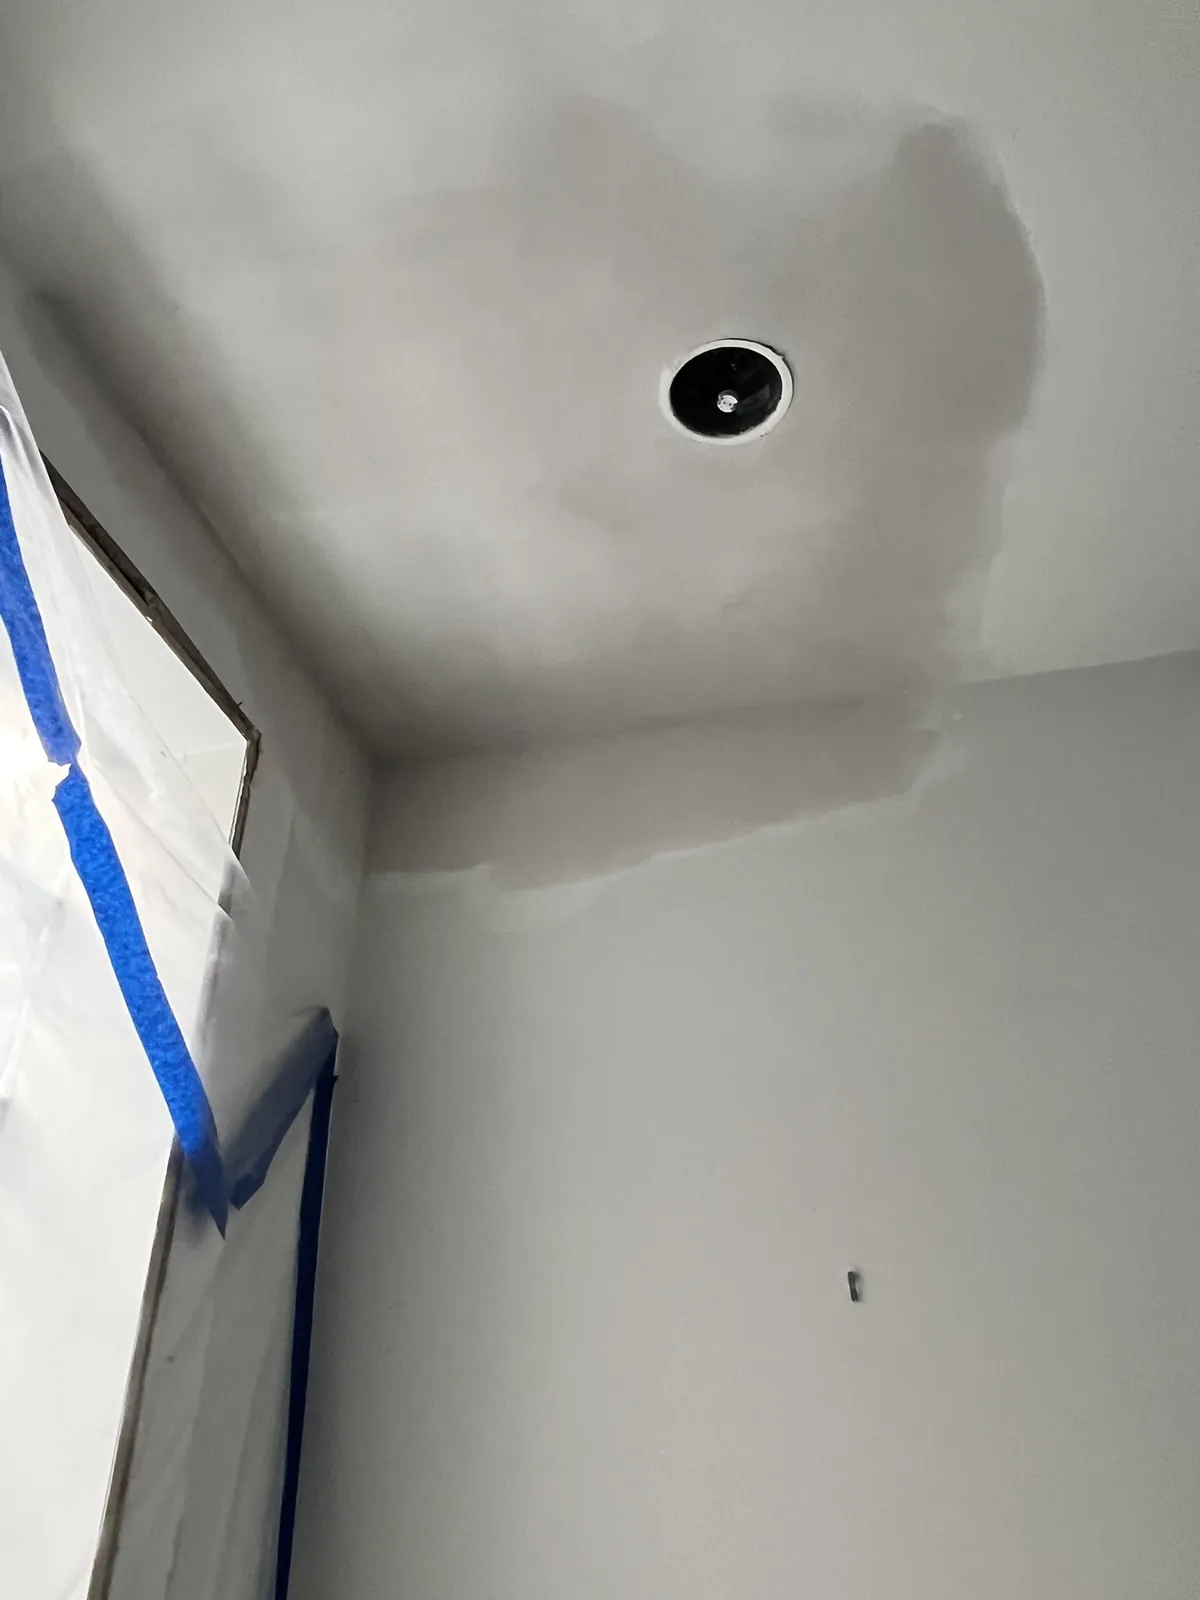
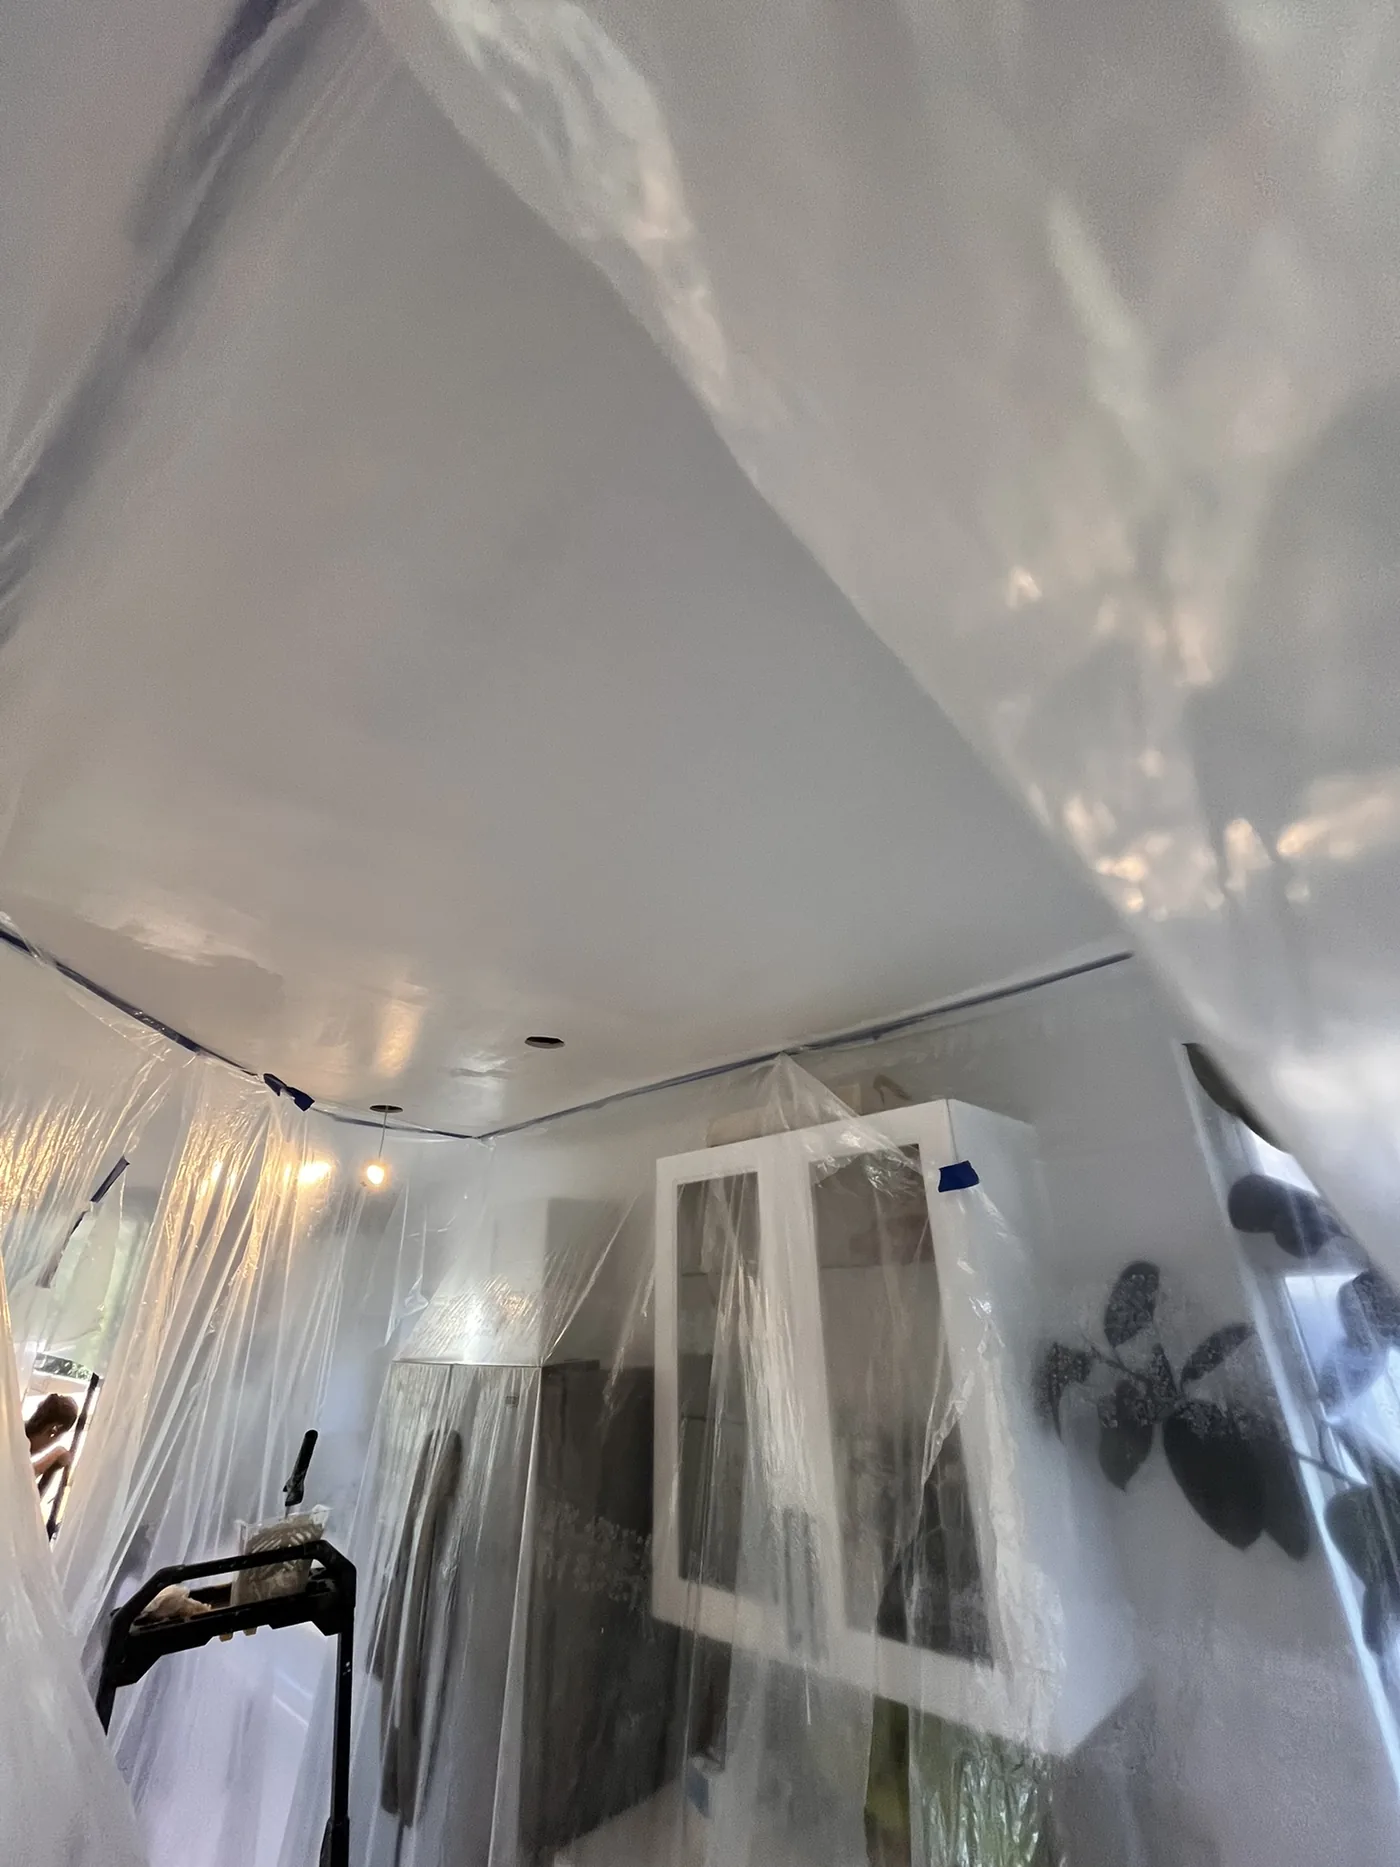
This project shows the kind of repair that can easily disrupt a finished home if it is not managed carefully. The kitchen was isolated with plastic, the ceiling was re-boarded, and the repair was widened through the finishing stages so the patch could blend back into the existing ceiling.
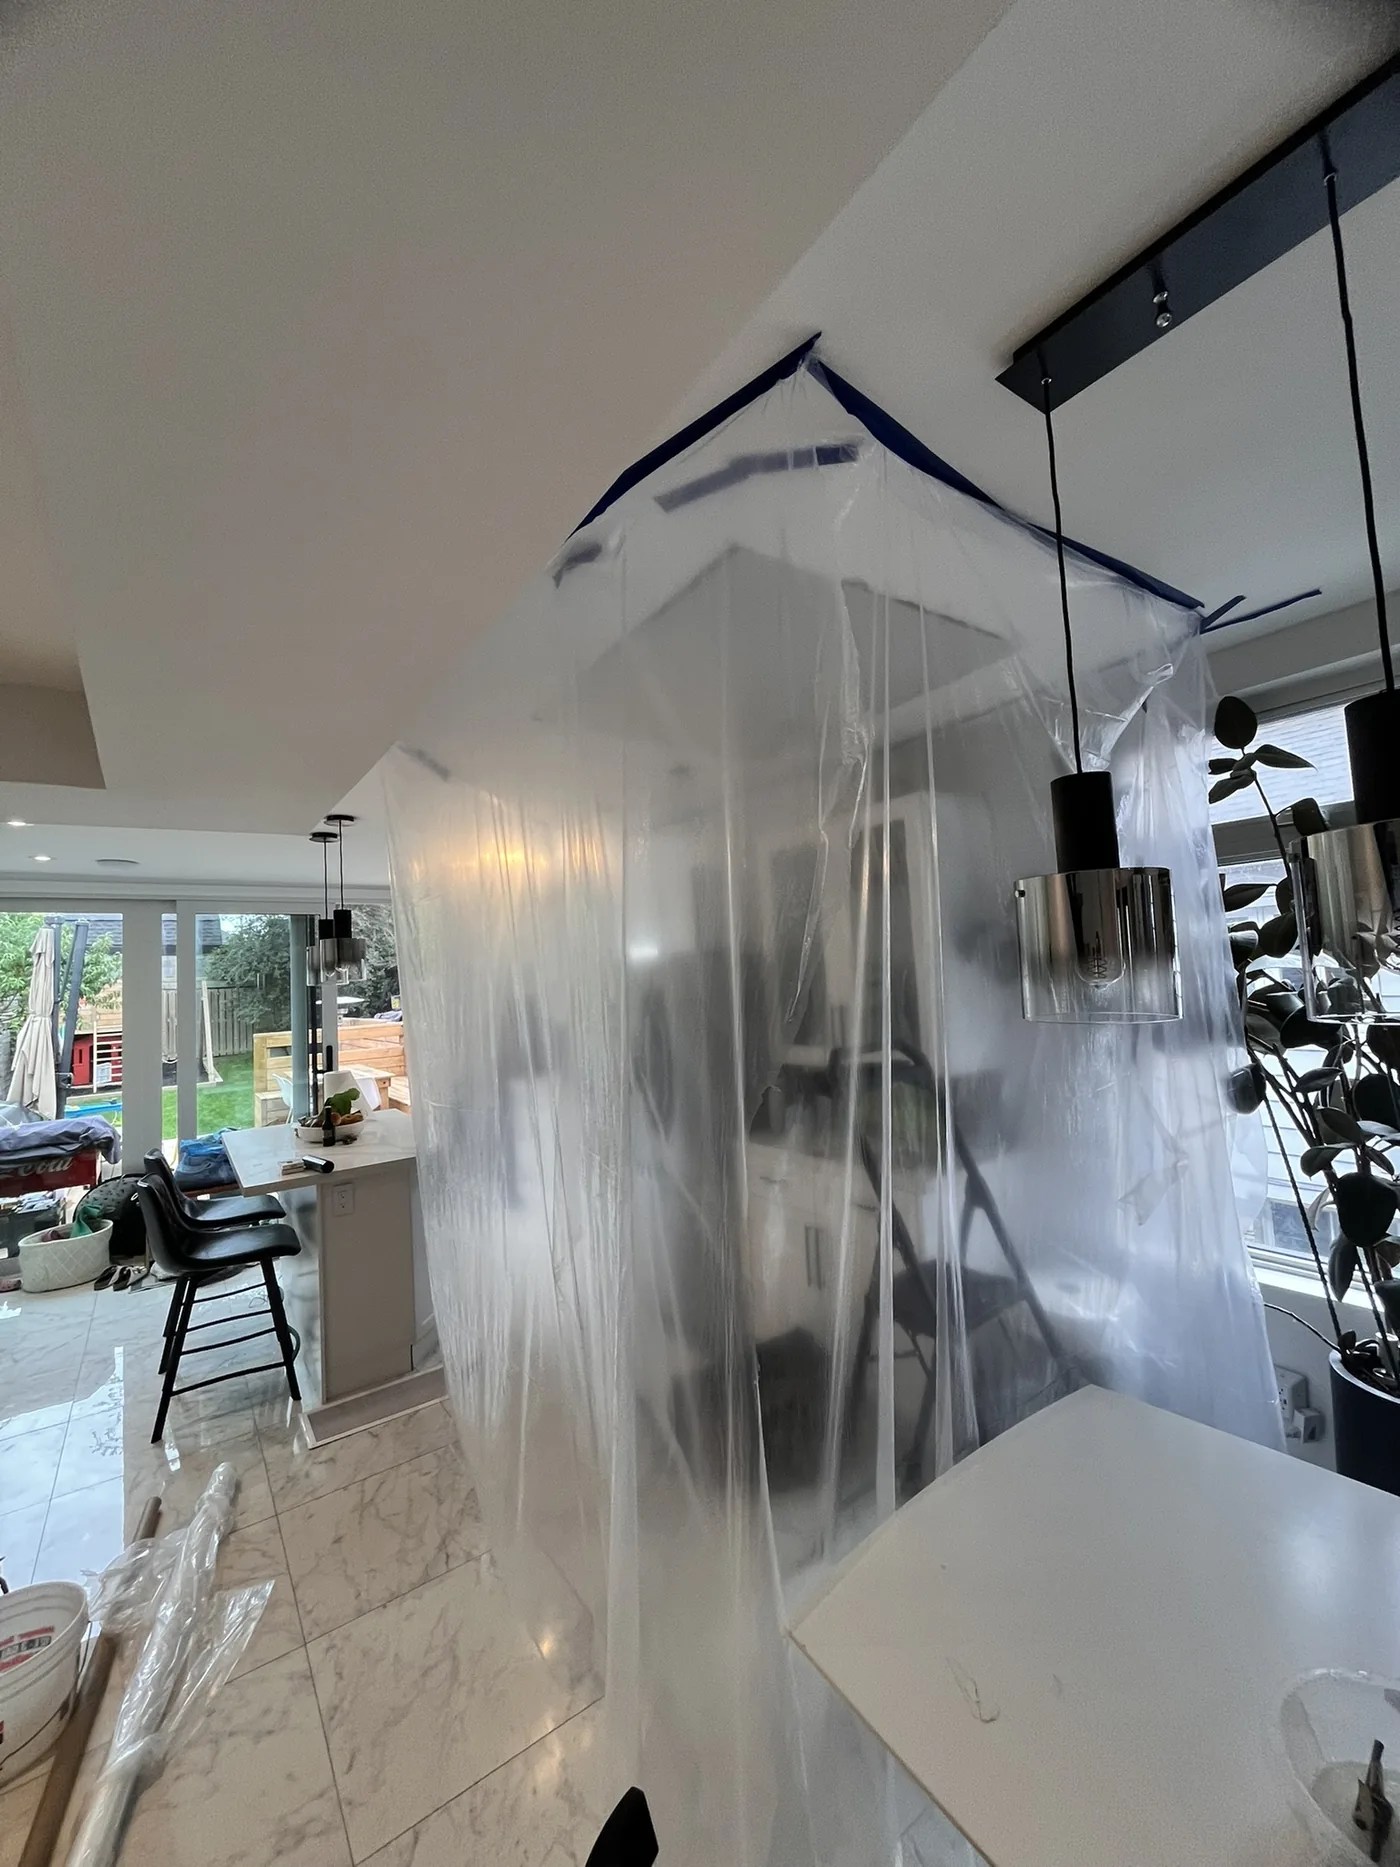
Kitchen enclosed with plastic for drywall ceiling repair
Containment First

Protect the room before the repair starts.

The surrounding kitchen, cabinets and furniture were separated from the active work zone with plastic sheeting before the ceiling repair moved forward.
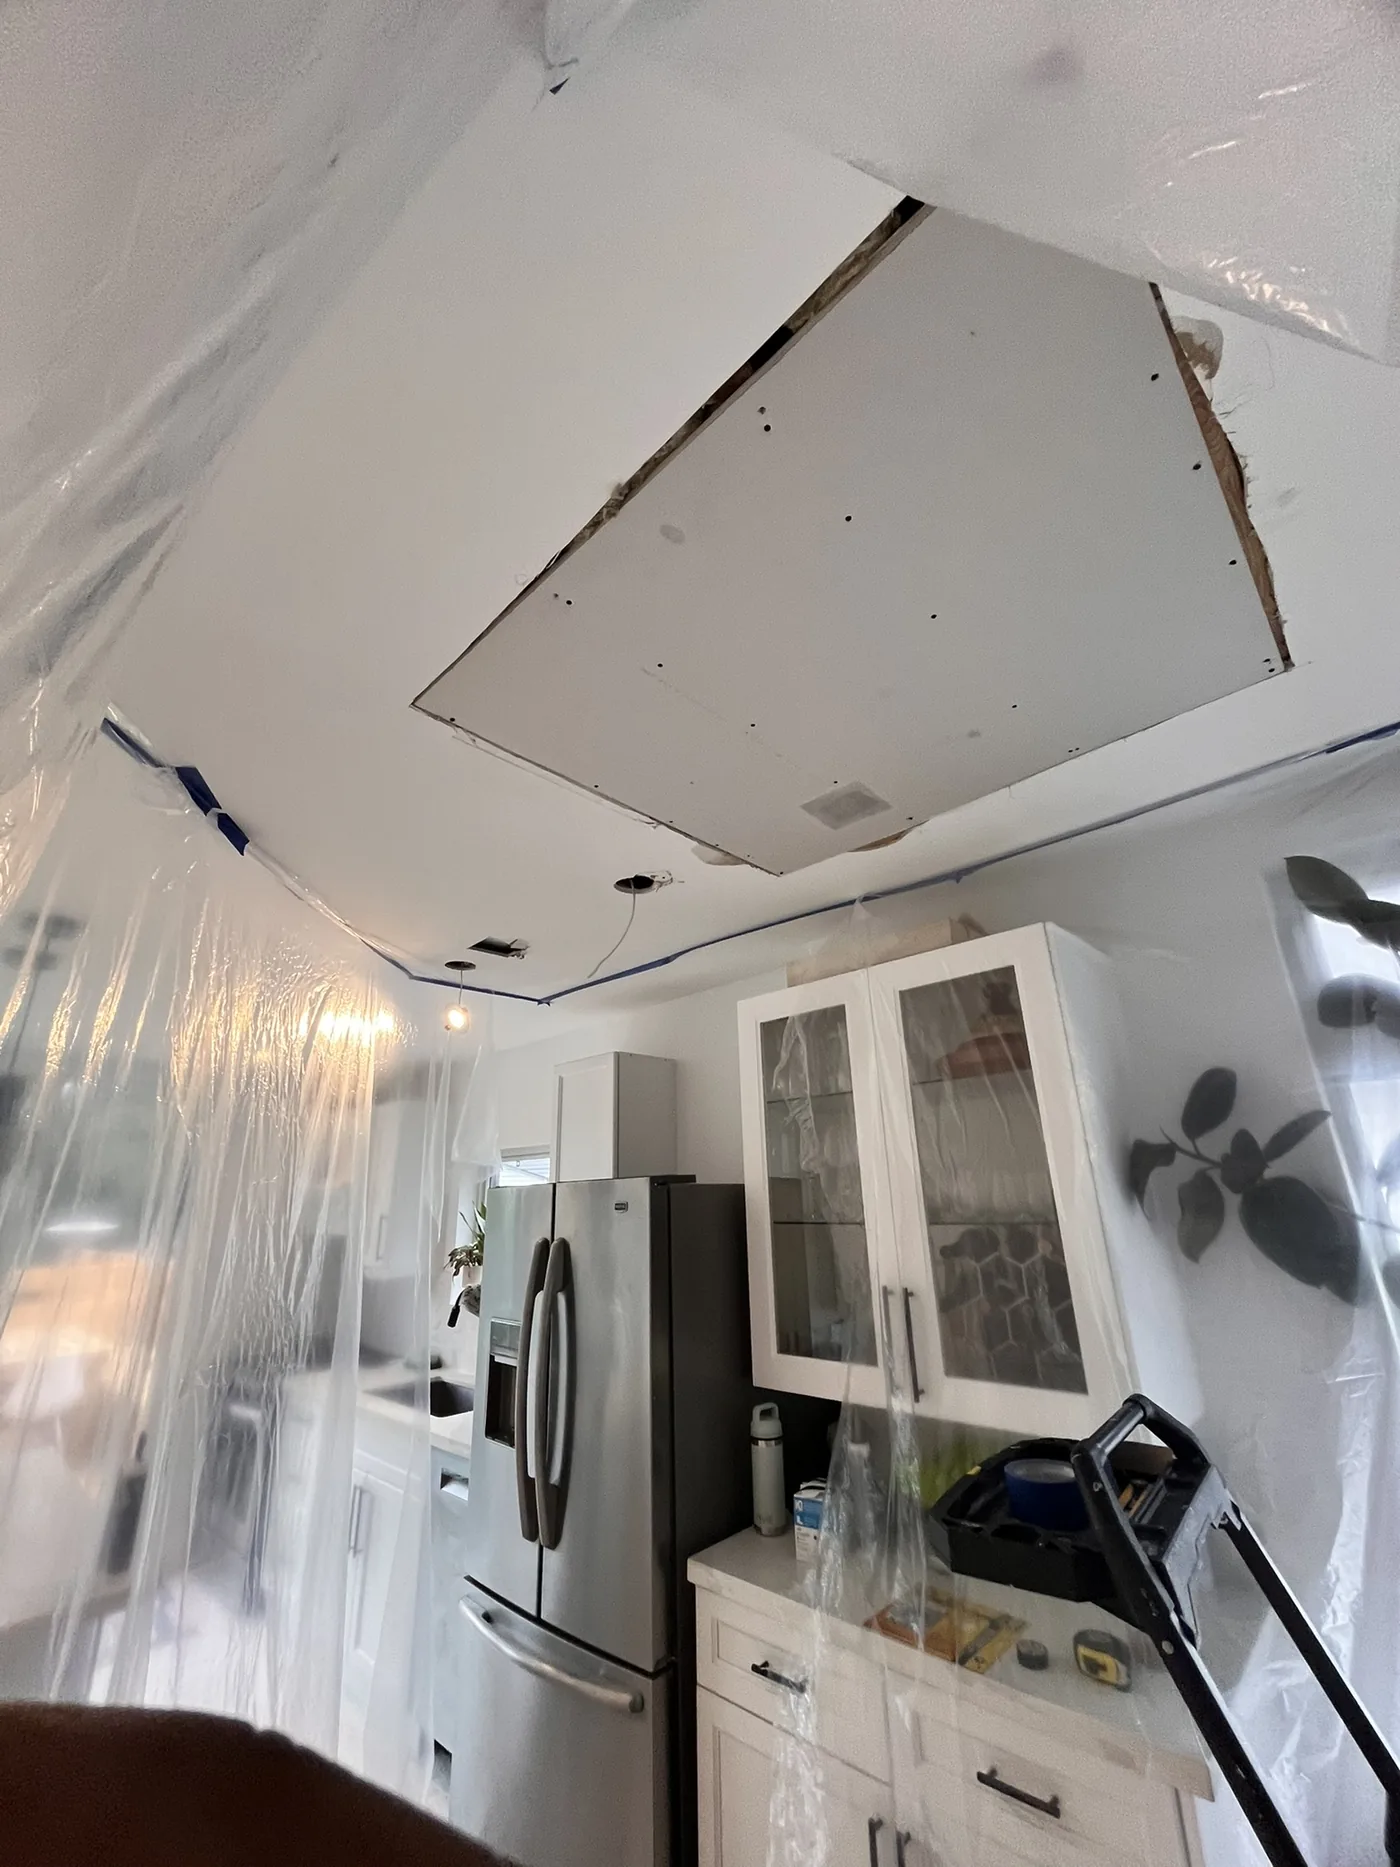
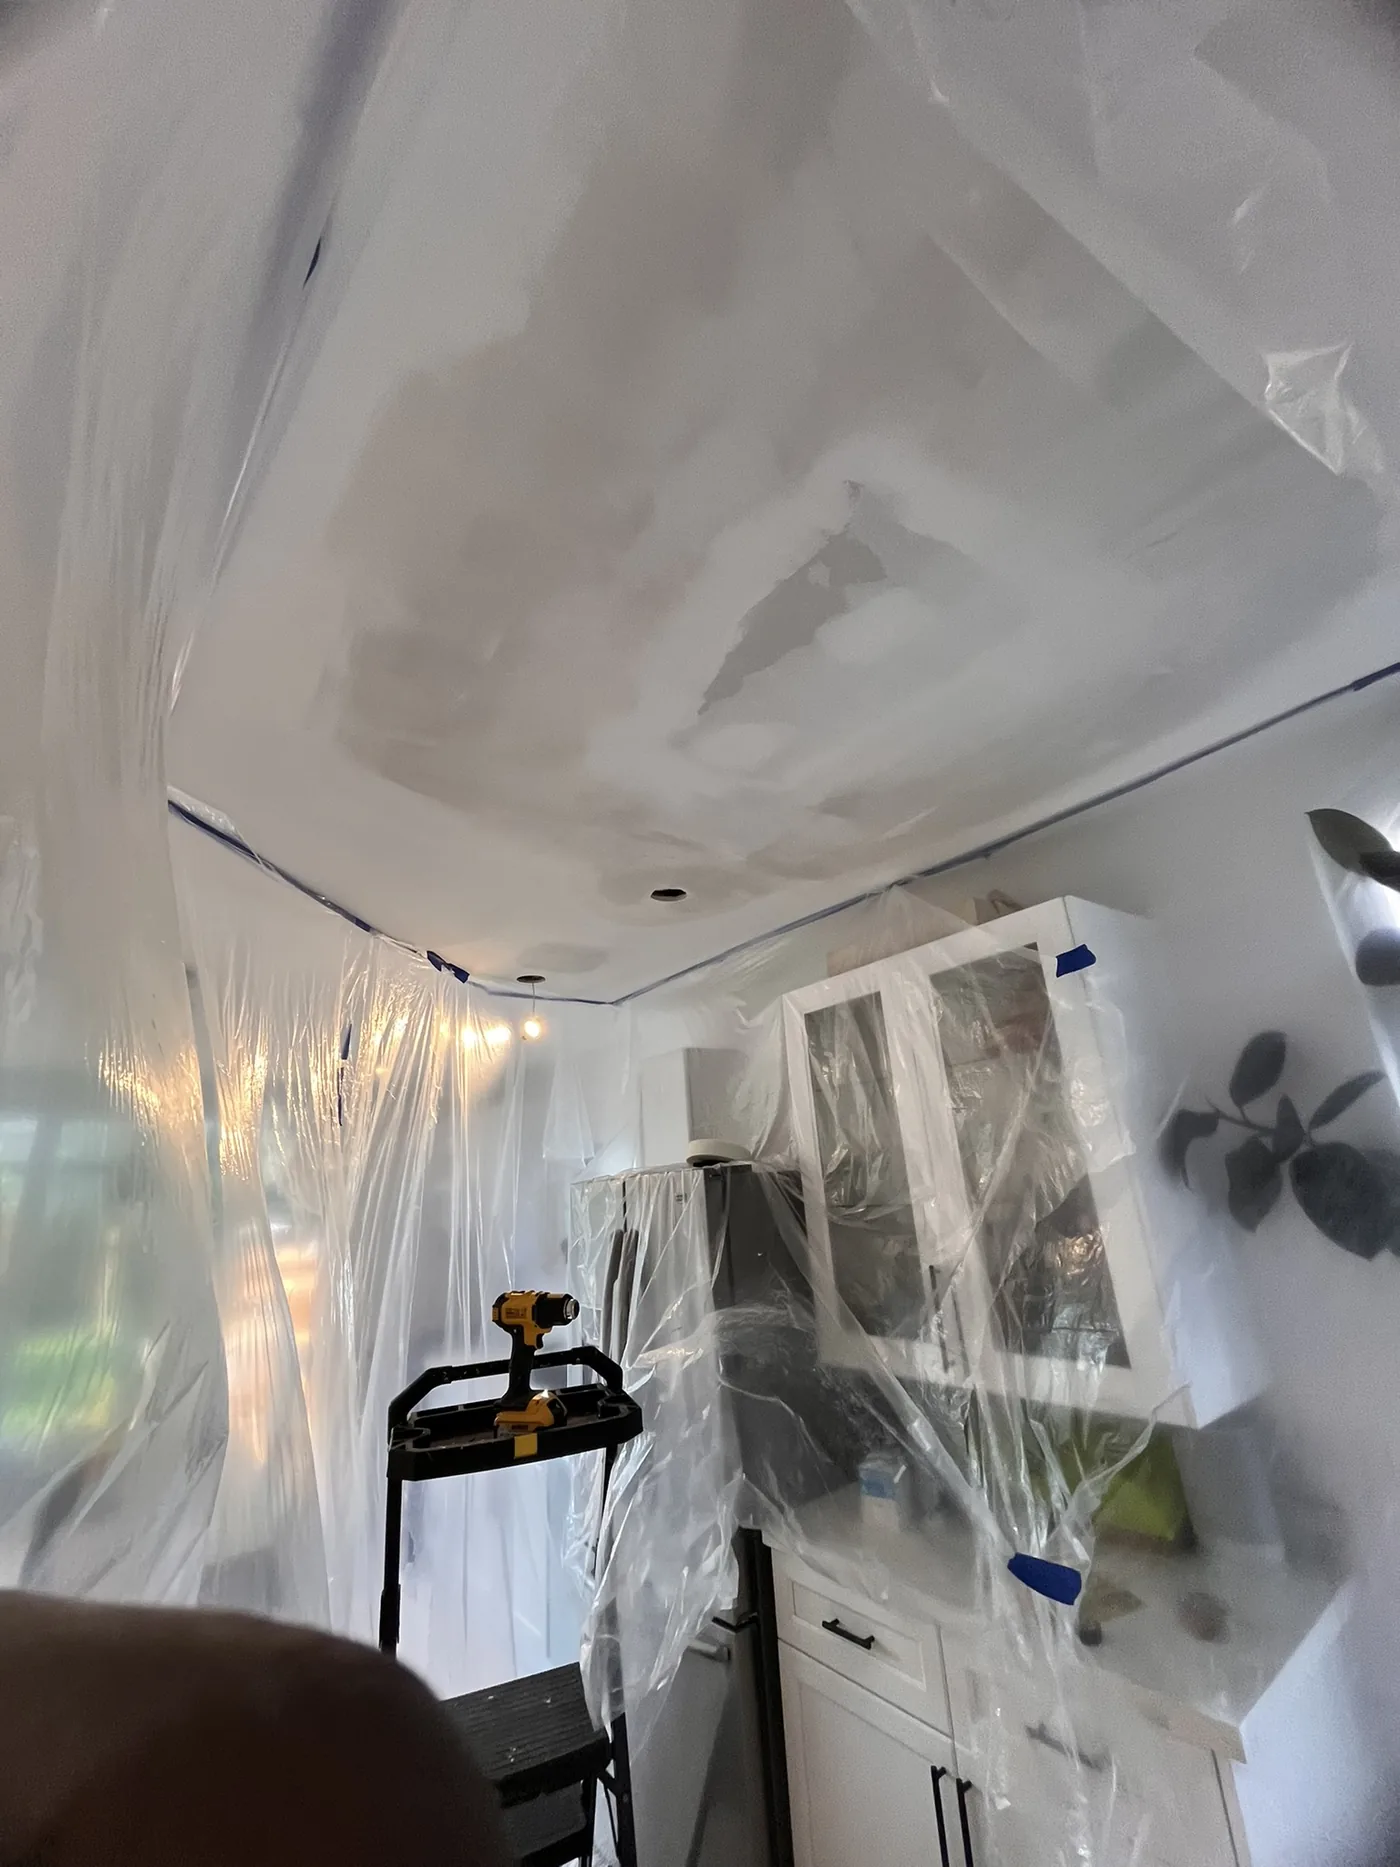
Dust containment around kitchen ceiling repair
Stage 1Containment
Large kitchen ceiling drywall patch installed
Stage 2Board Installed
Kitchen ceiling drywall repair during first finishing coats
Stage 3Coated & Feathered
Kitchen ceiling repair at later finish stage
Stage 4Finish Stage
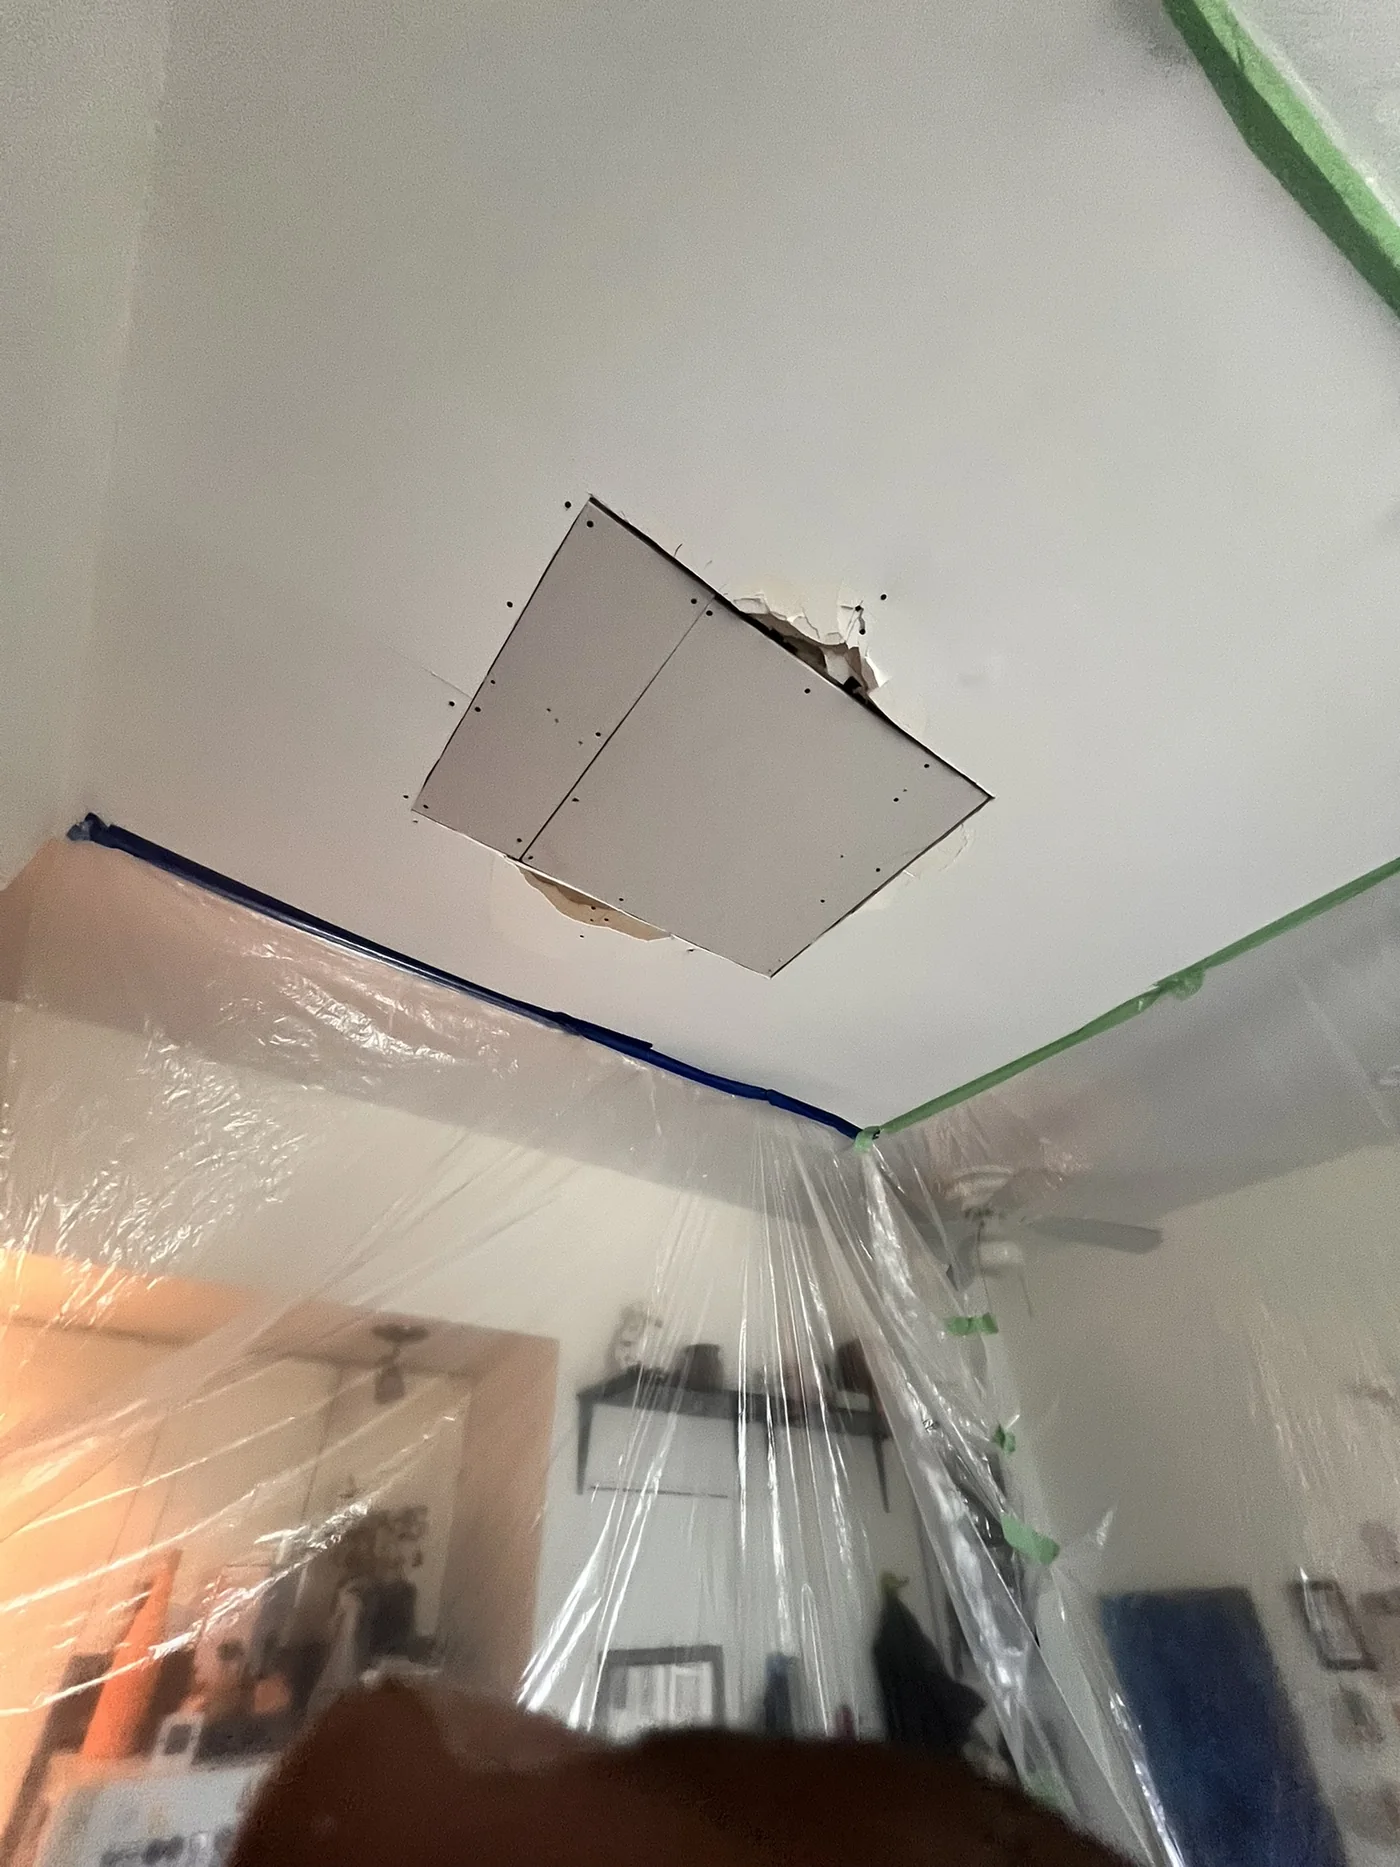
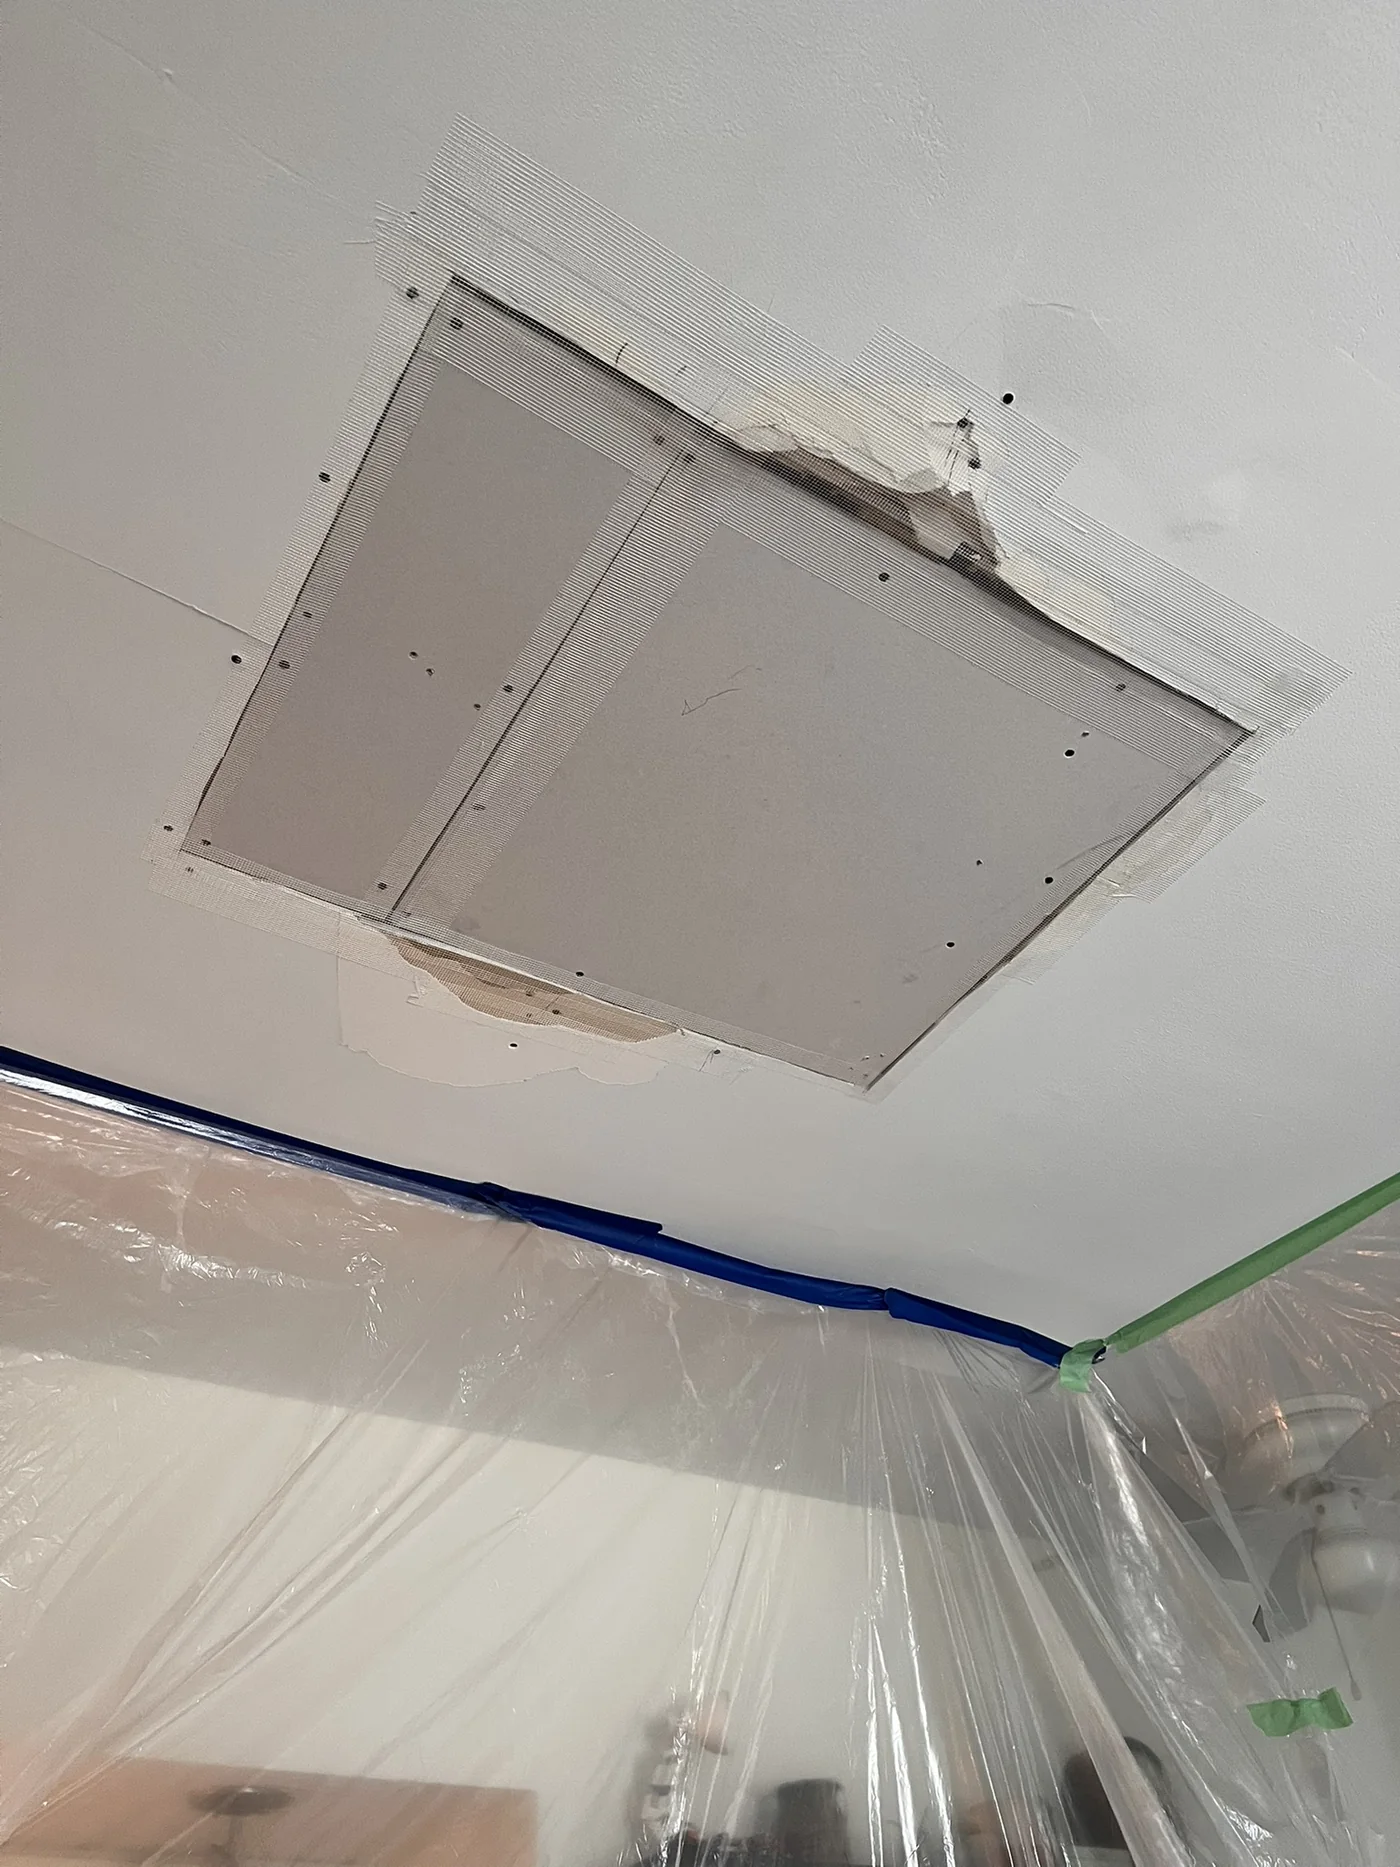
Living Room Ceiling Repair

Damaged ceiling opened, rebuilt, reinforced and blended back in.

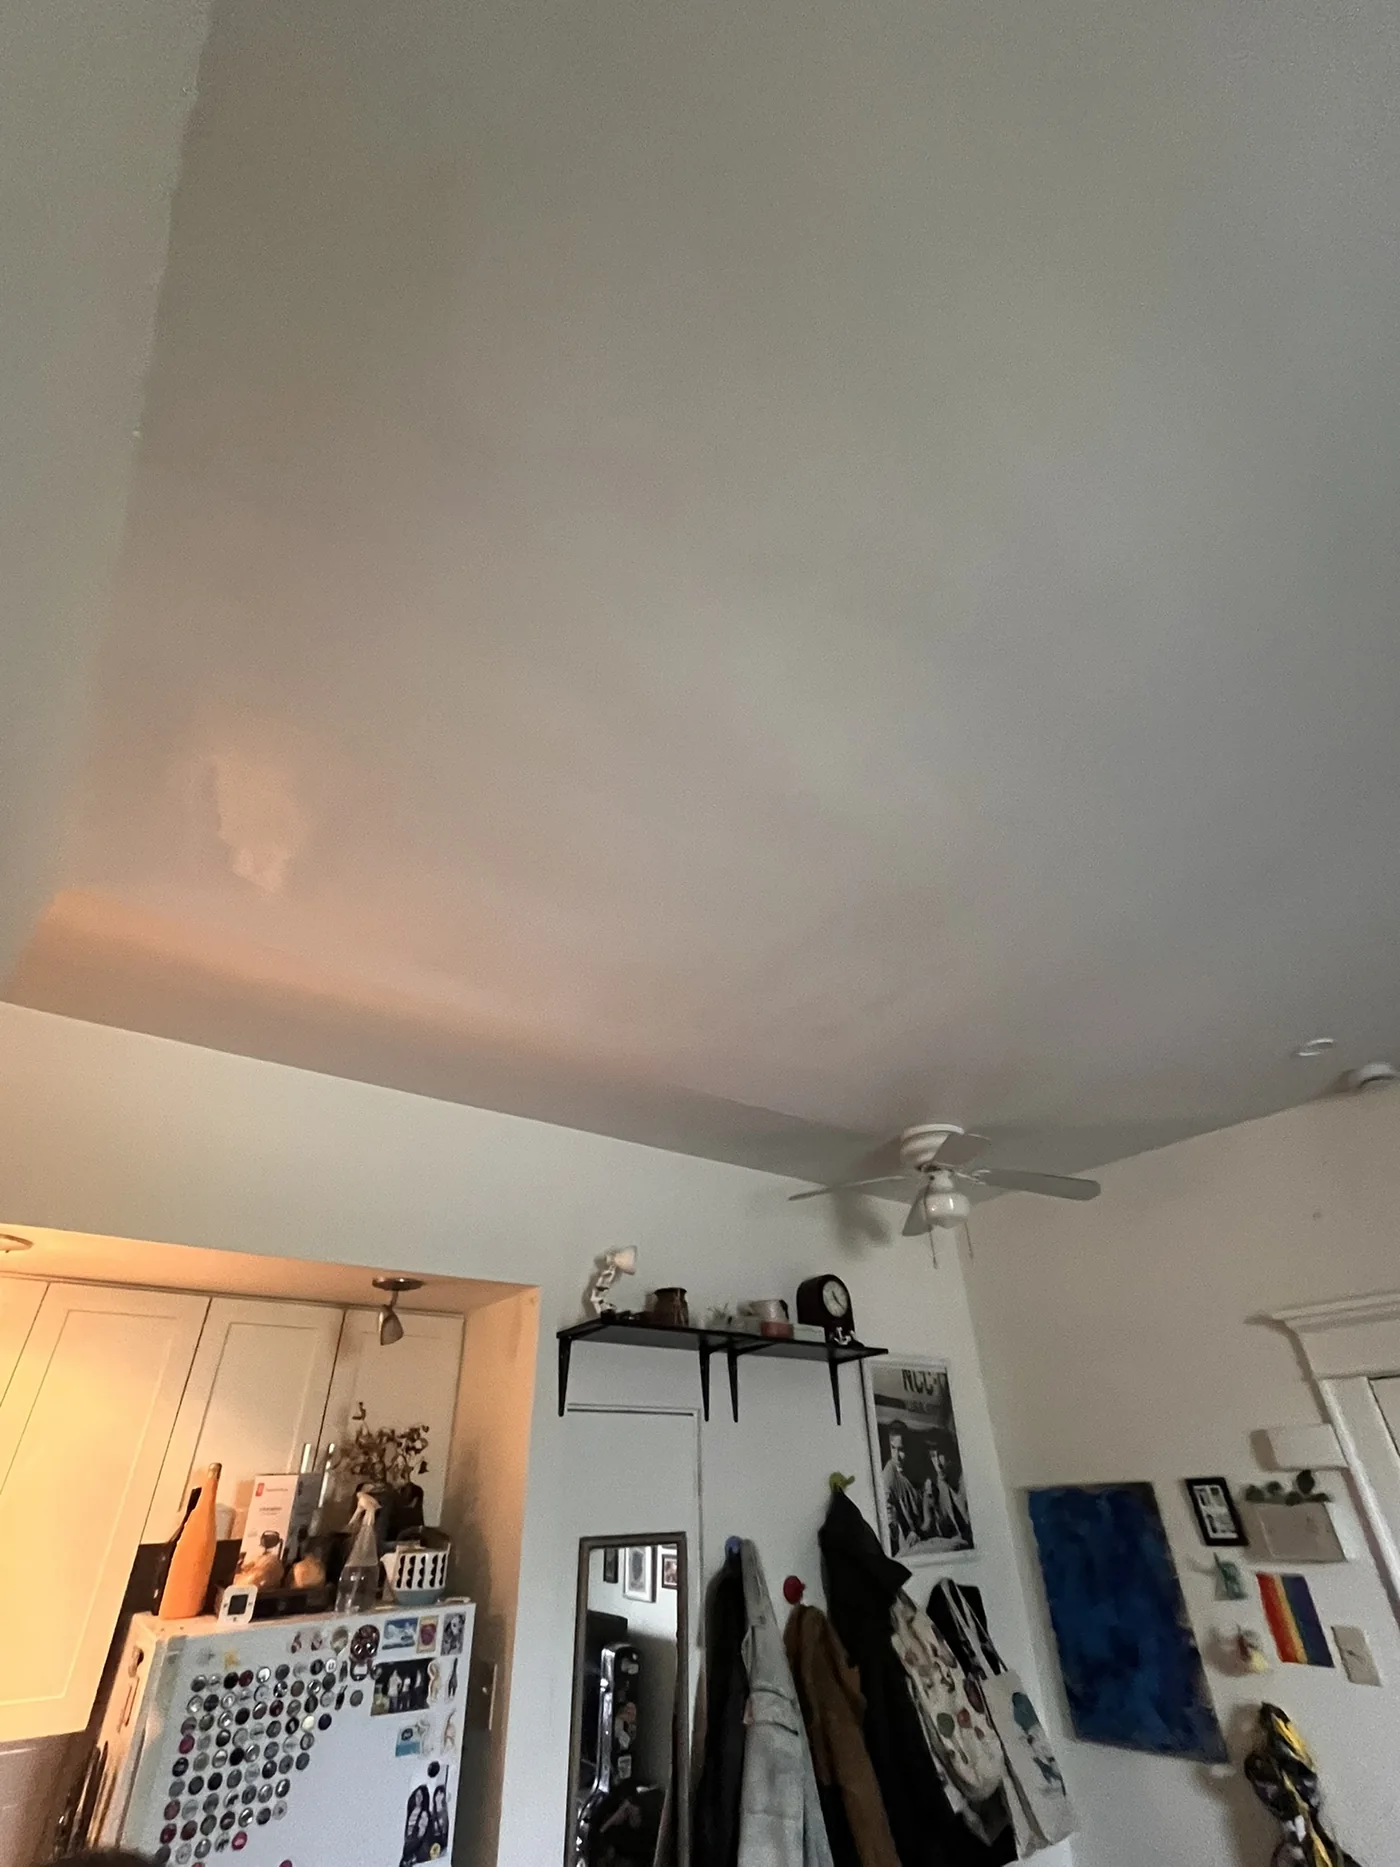
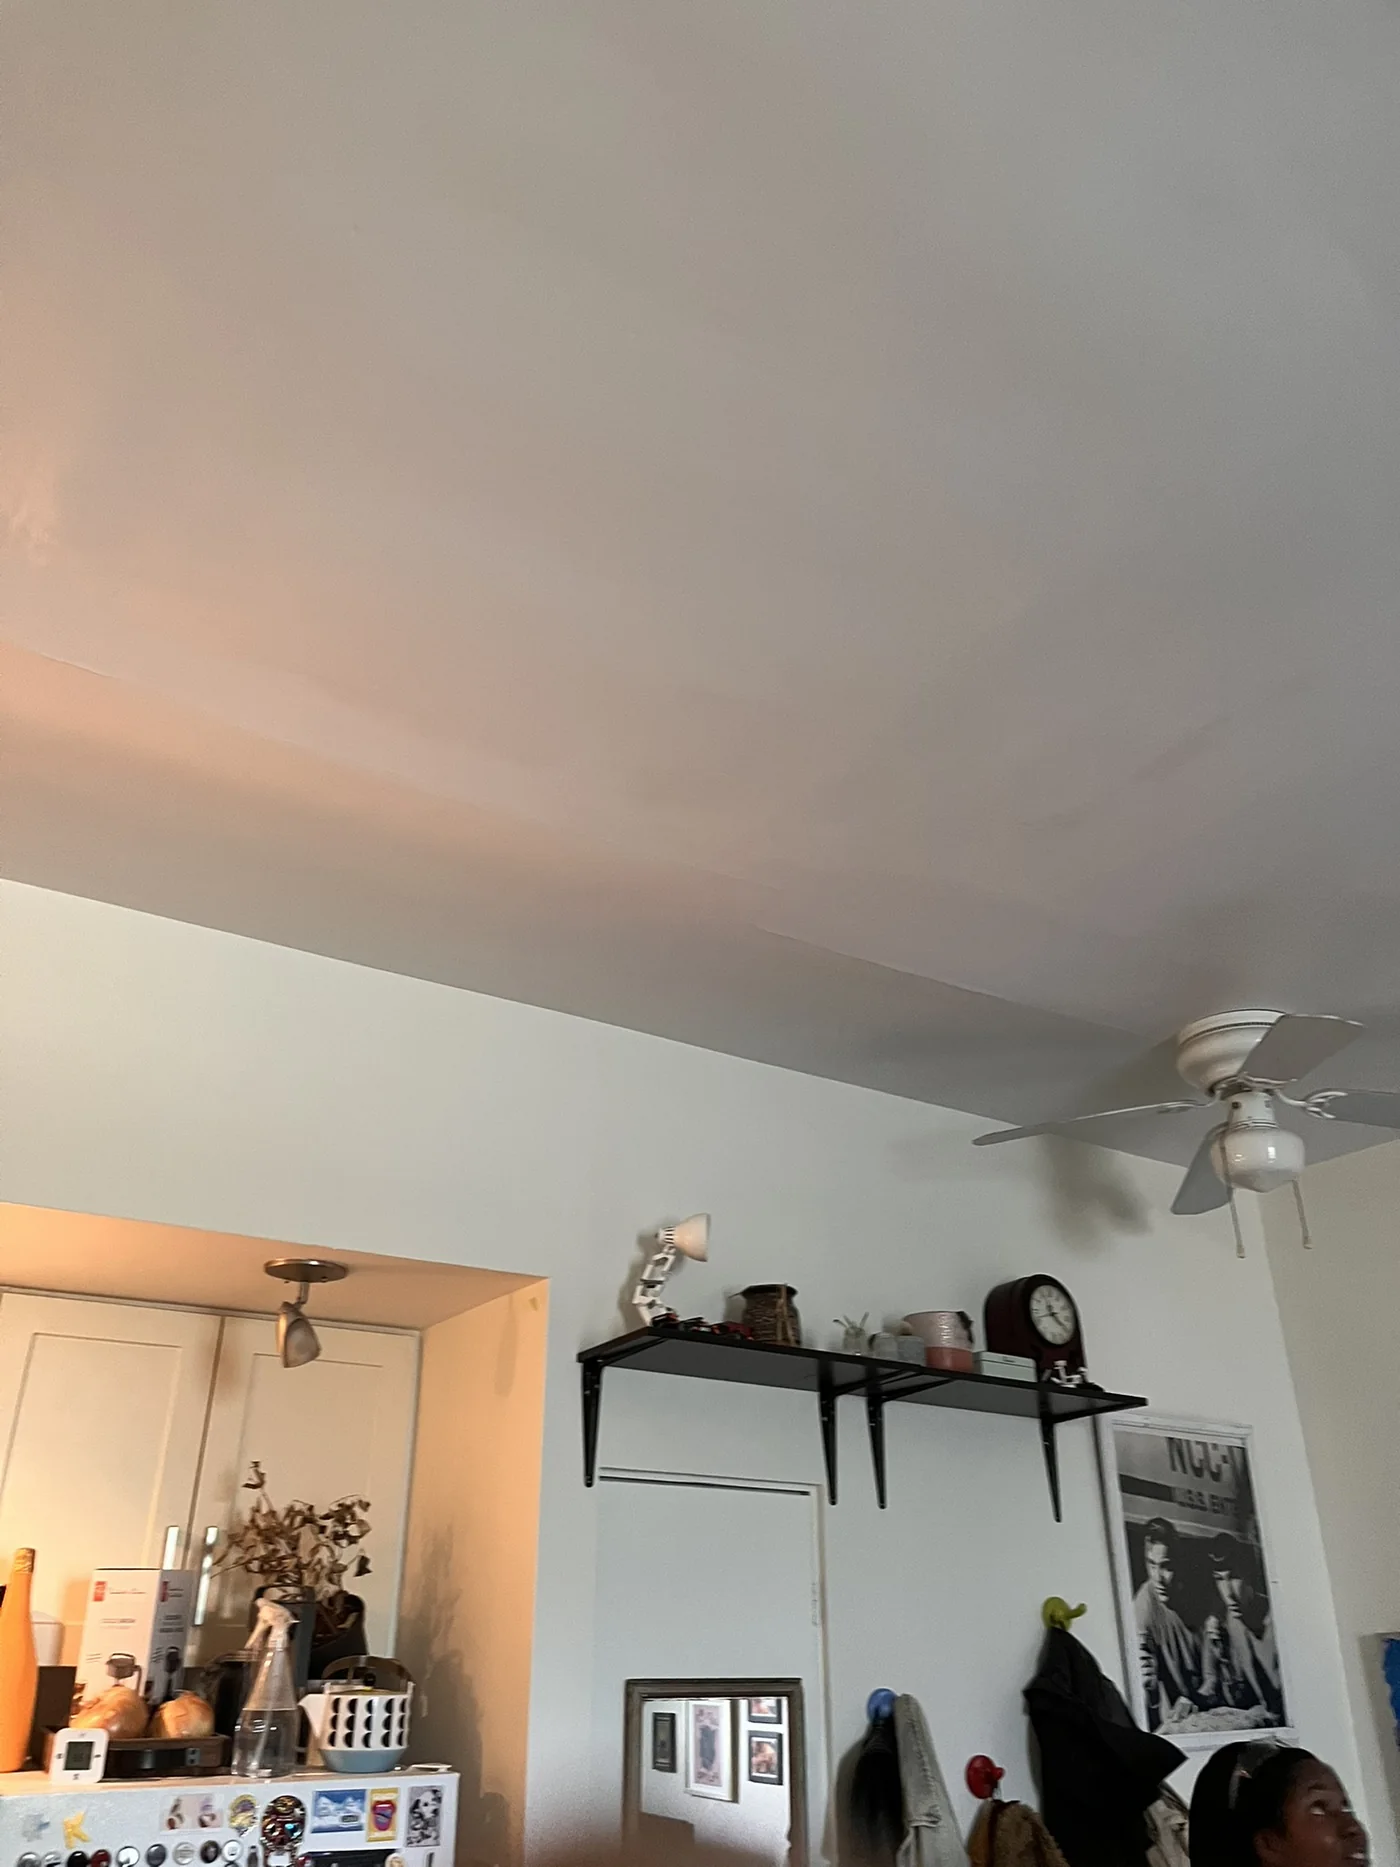
This project started with a damaged ceiling opening and progressed through new drywall, reinforced seams, wider finishing coats and a clean final ceiling. The surrounding room was protected with plastic during the repair.
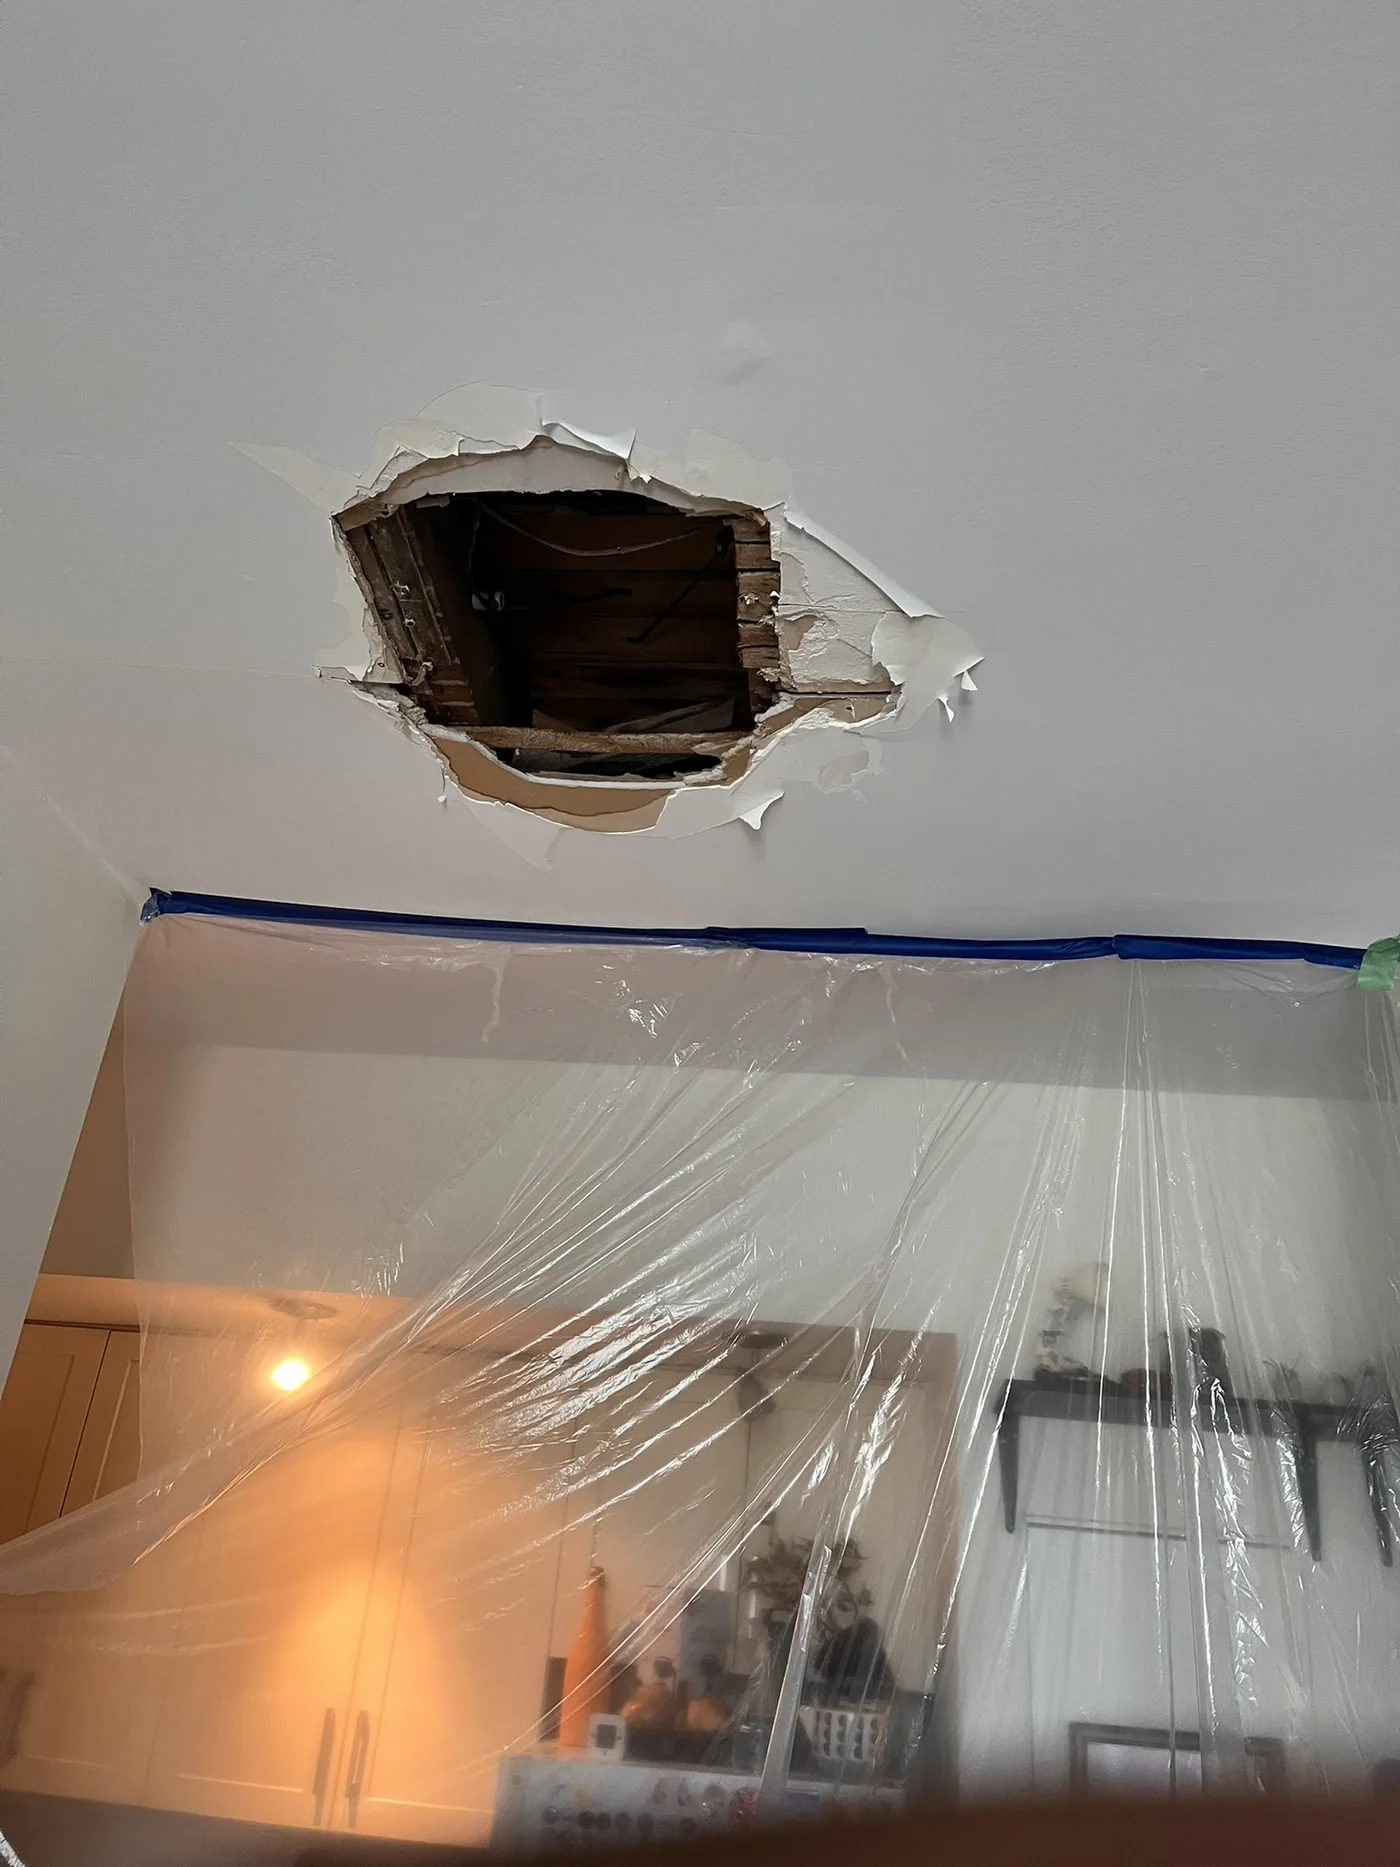
Damaged living room ceiling before drywall repair
BeforeDamaged ceiling opening
Living room ceiling after drywall repair and finishing
FinishedRepaired ceiling
Damaged ceiling opened for repair
Stage 1Open Ceiling
New drywall installed in ceiling repair area
Stage 2Board Installed
Ceiling repair seams reinforced with mesh
Stage 3Reinforced & Taped
Finished living room ceiling after drywall repair
Stage 4Finished Ceiling
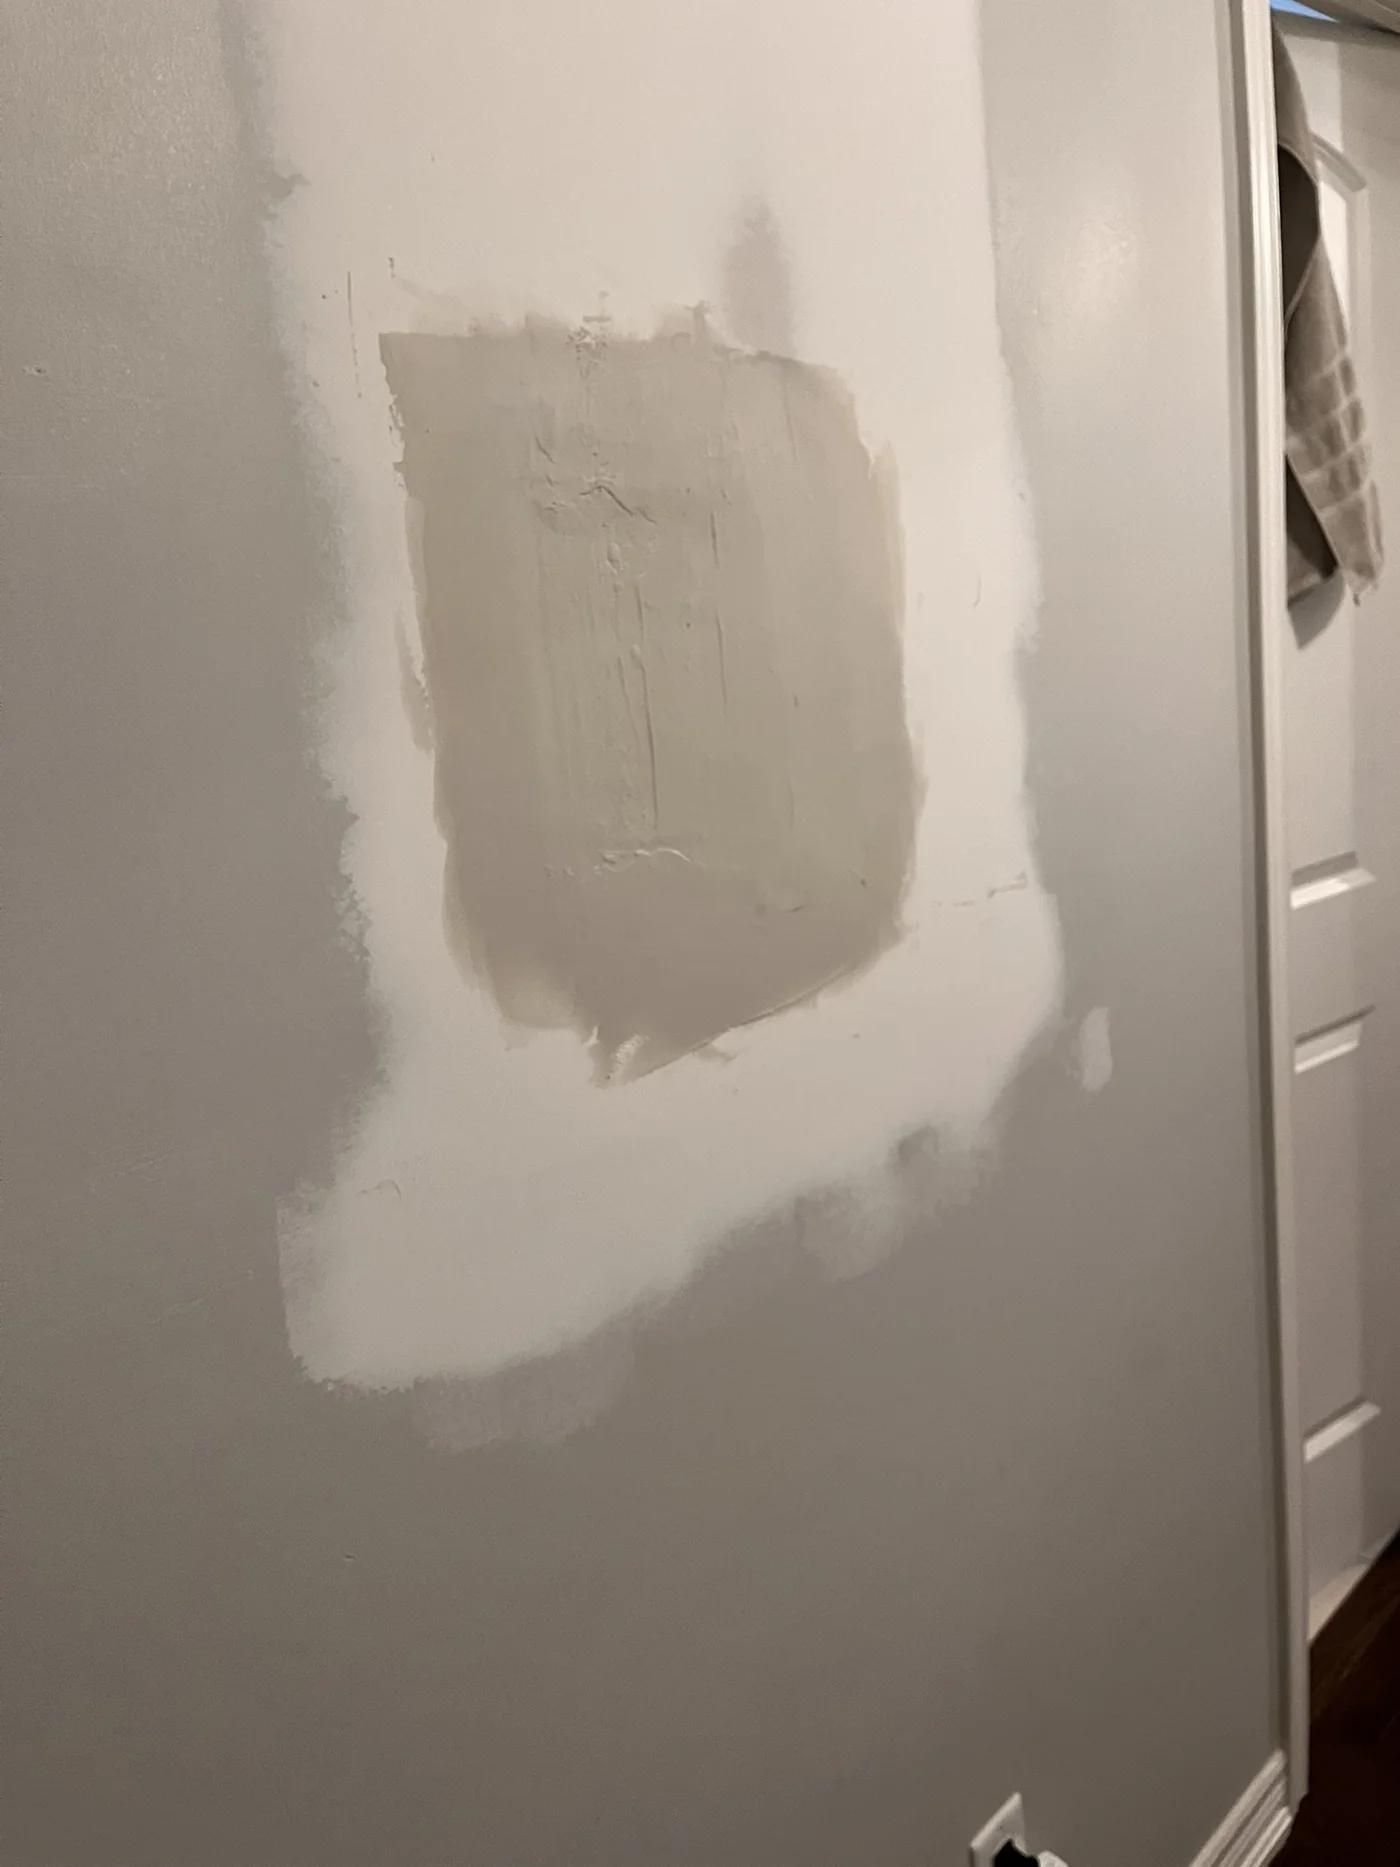
Hallway Wall Repair

Access opening repaired and blended back into a finished hallway.

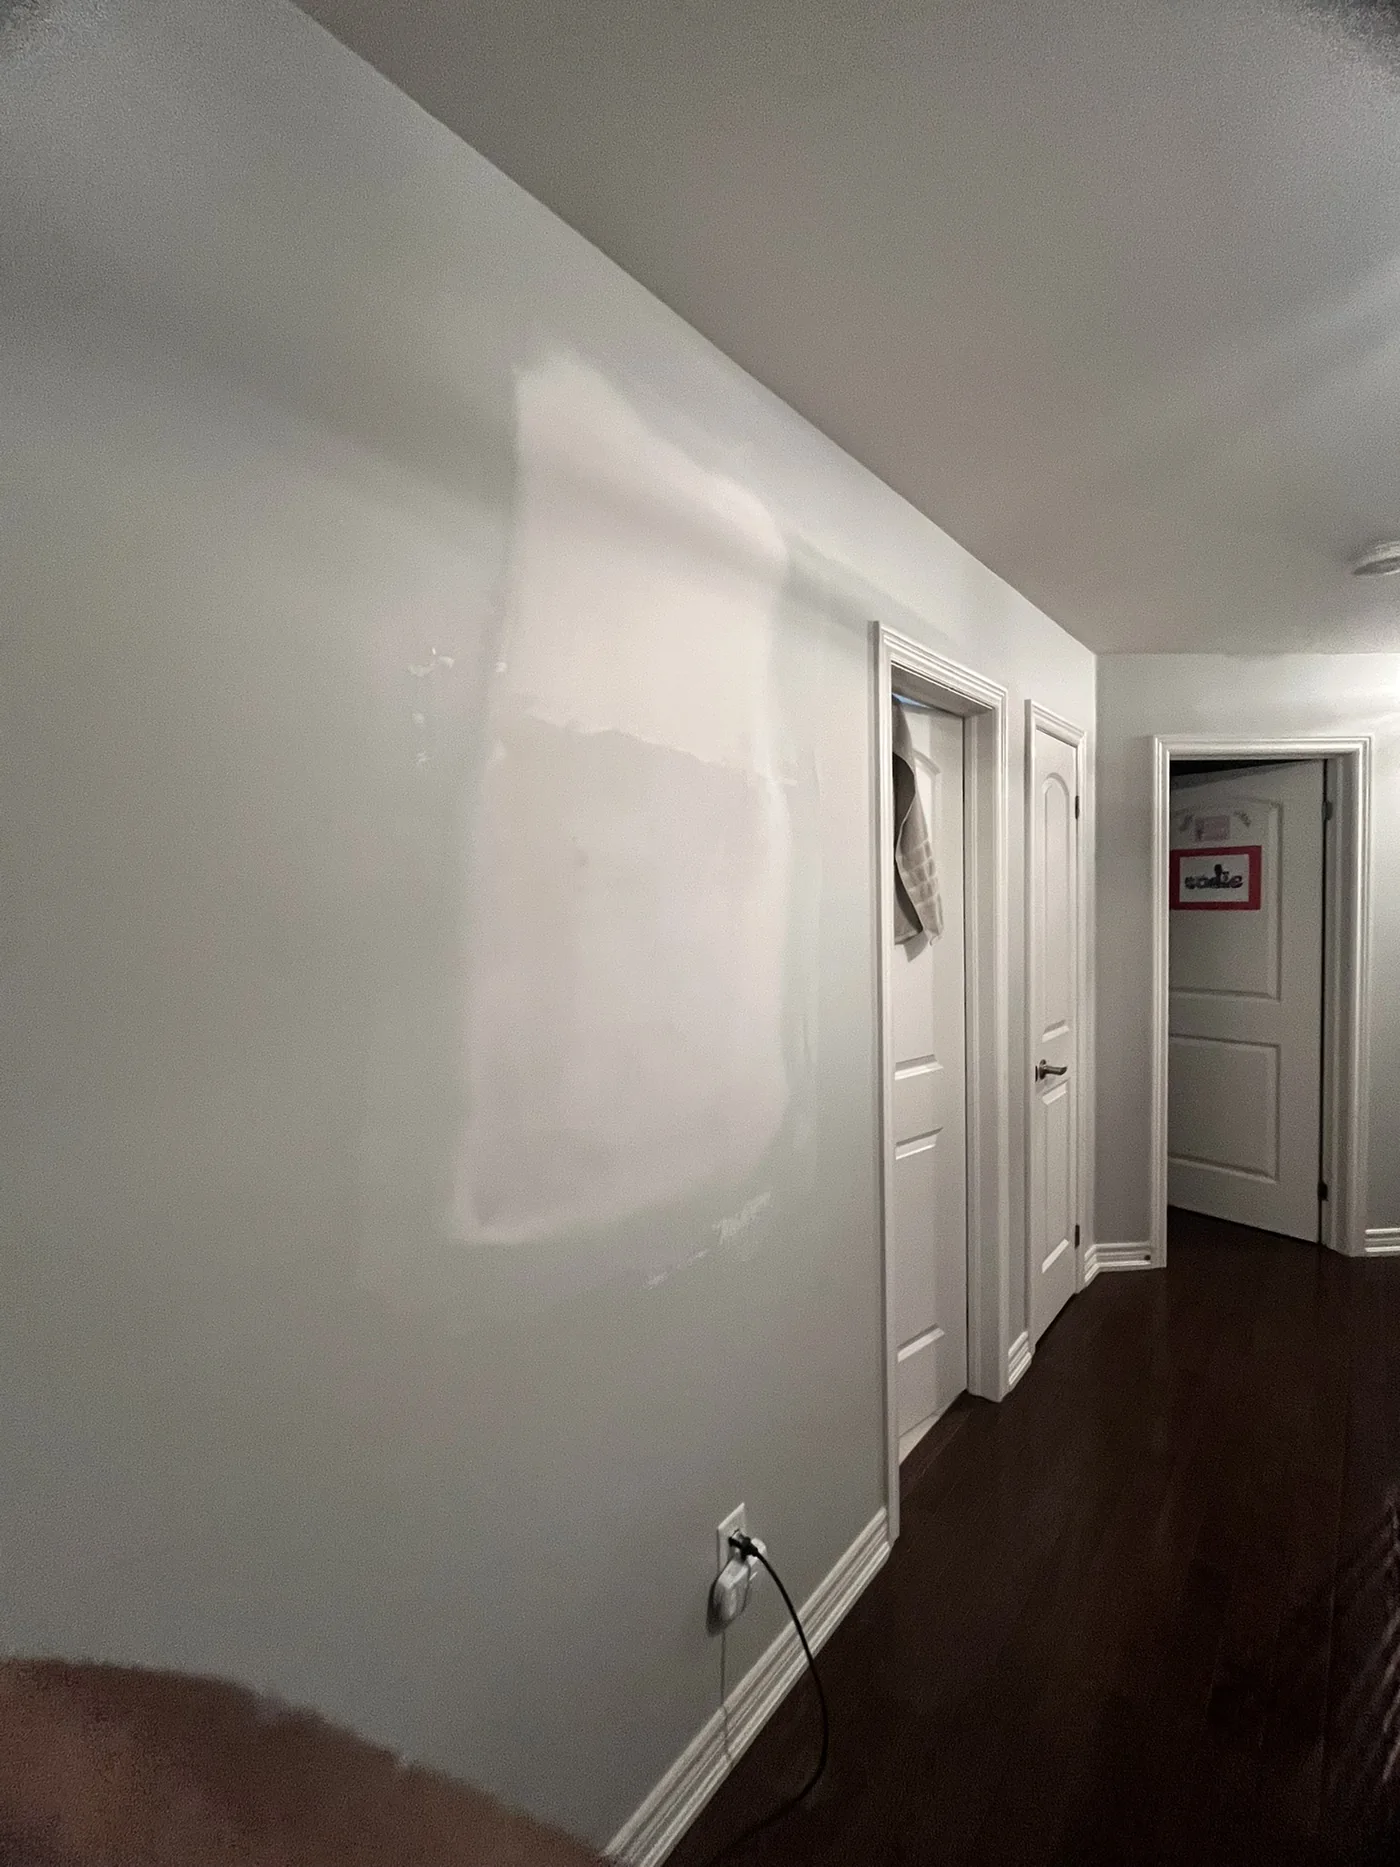
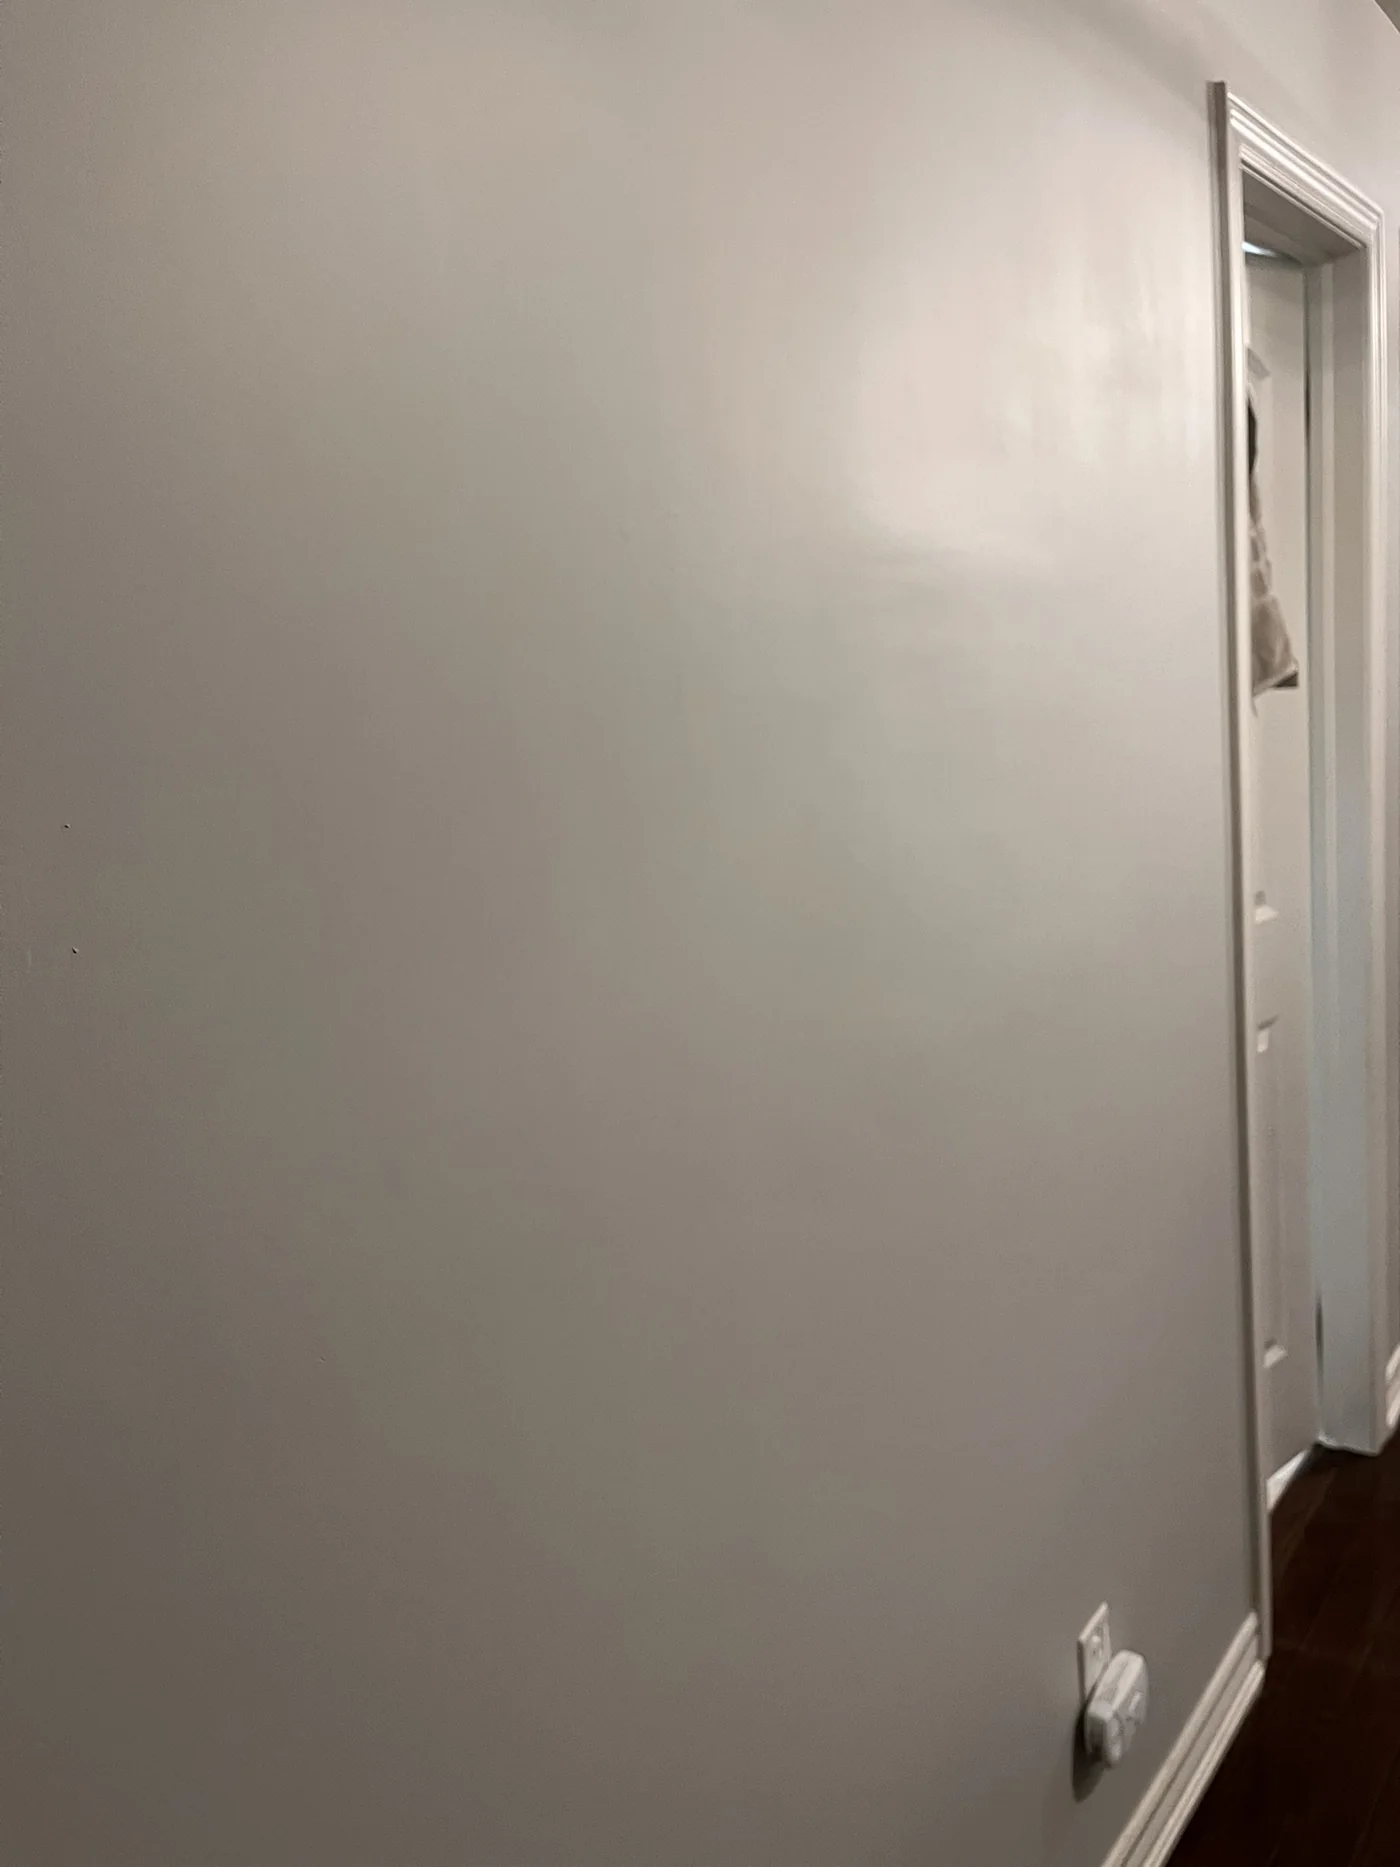
This repair started with an irregular opening in an existing finished wall. The area was closed, built out through multiple coats, feathered wider than the original opening and ultimately brought back to a clean painted wall.
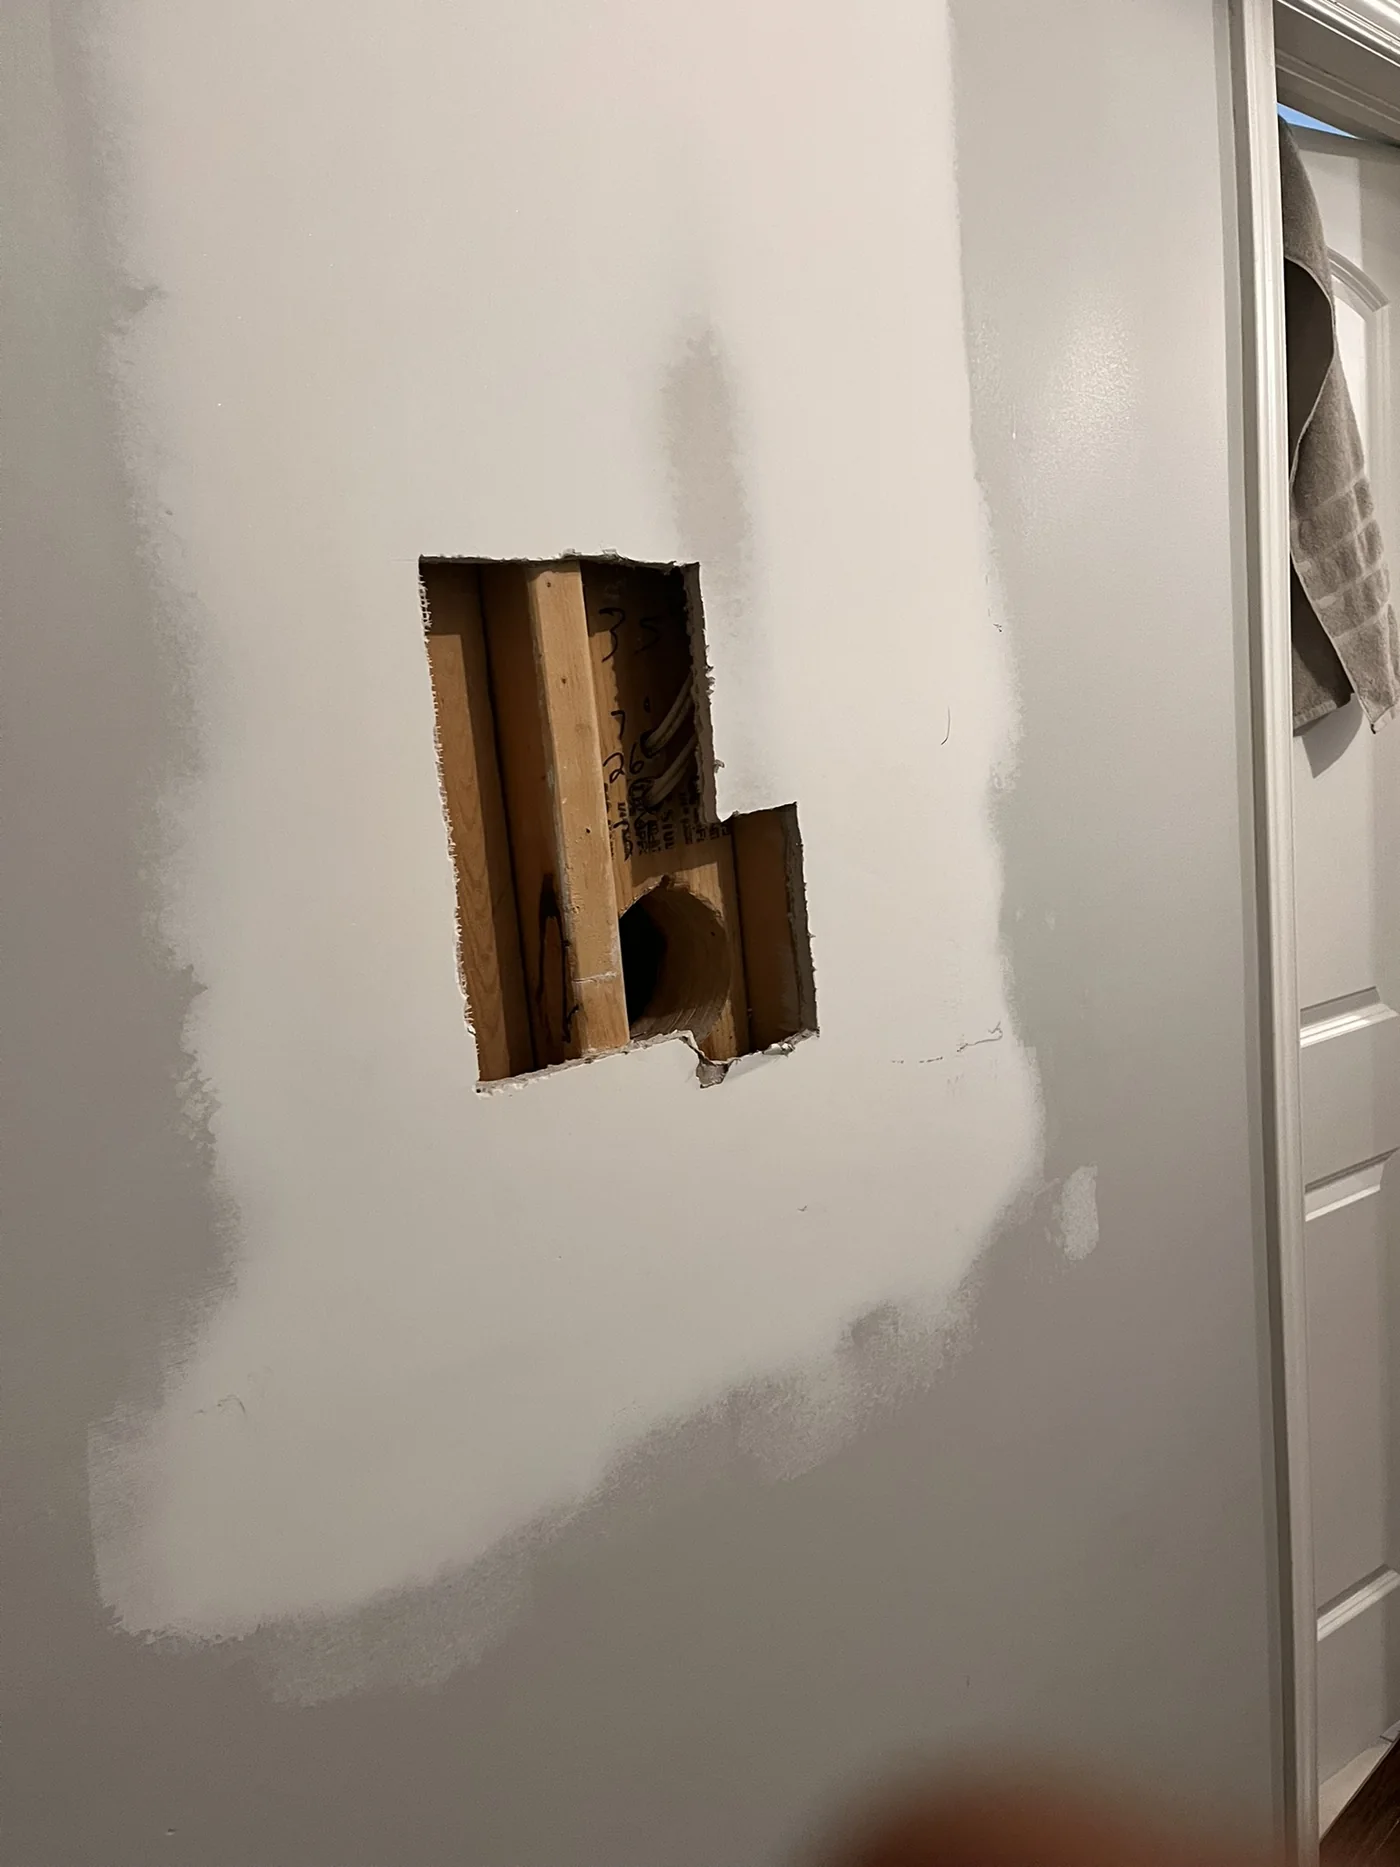
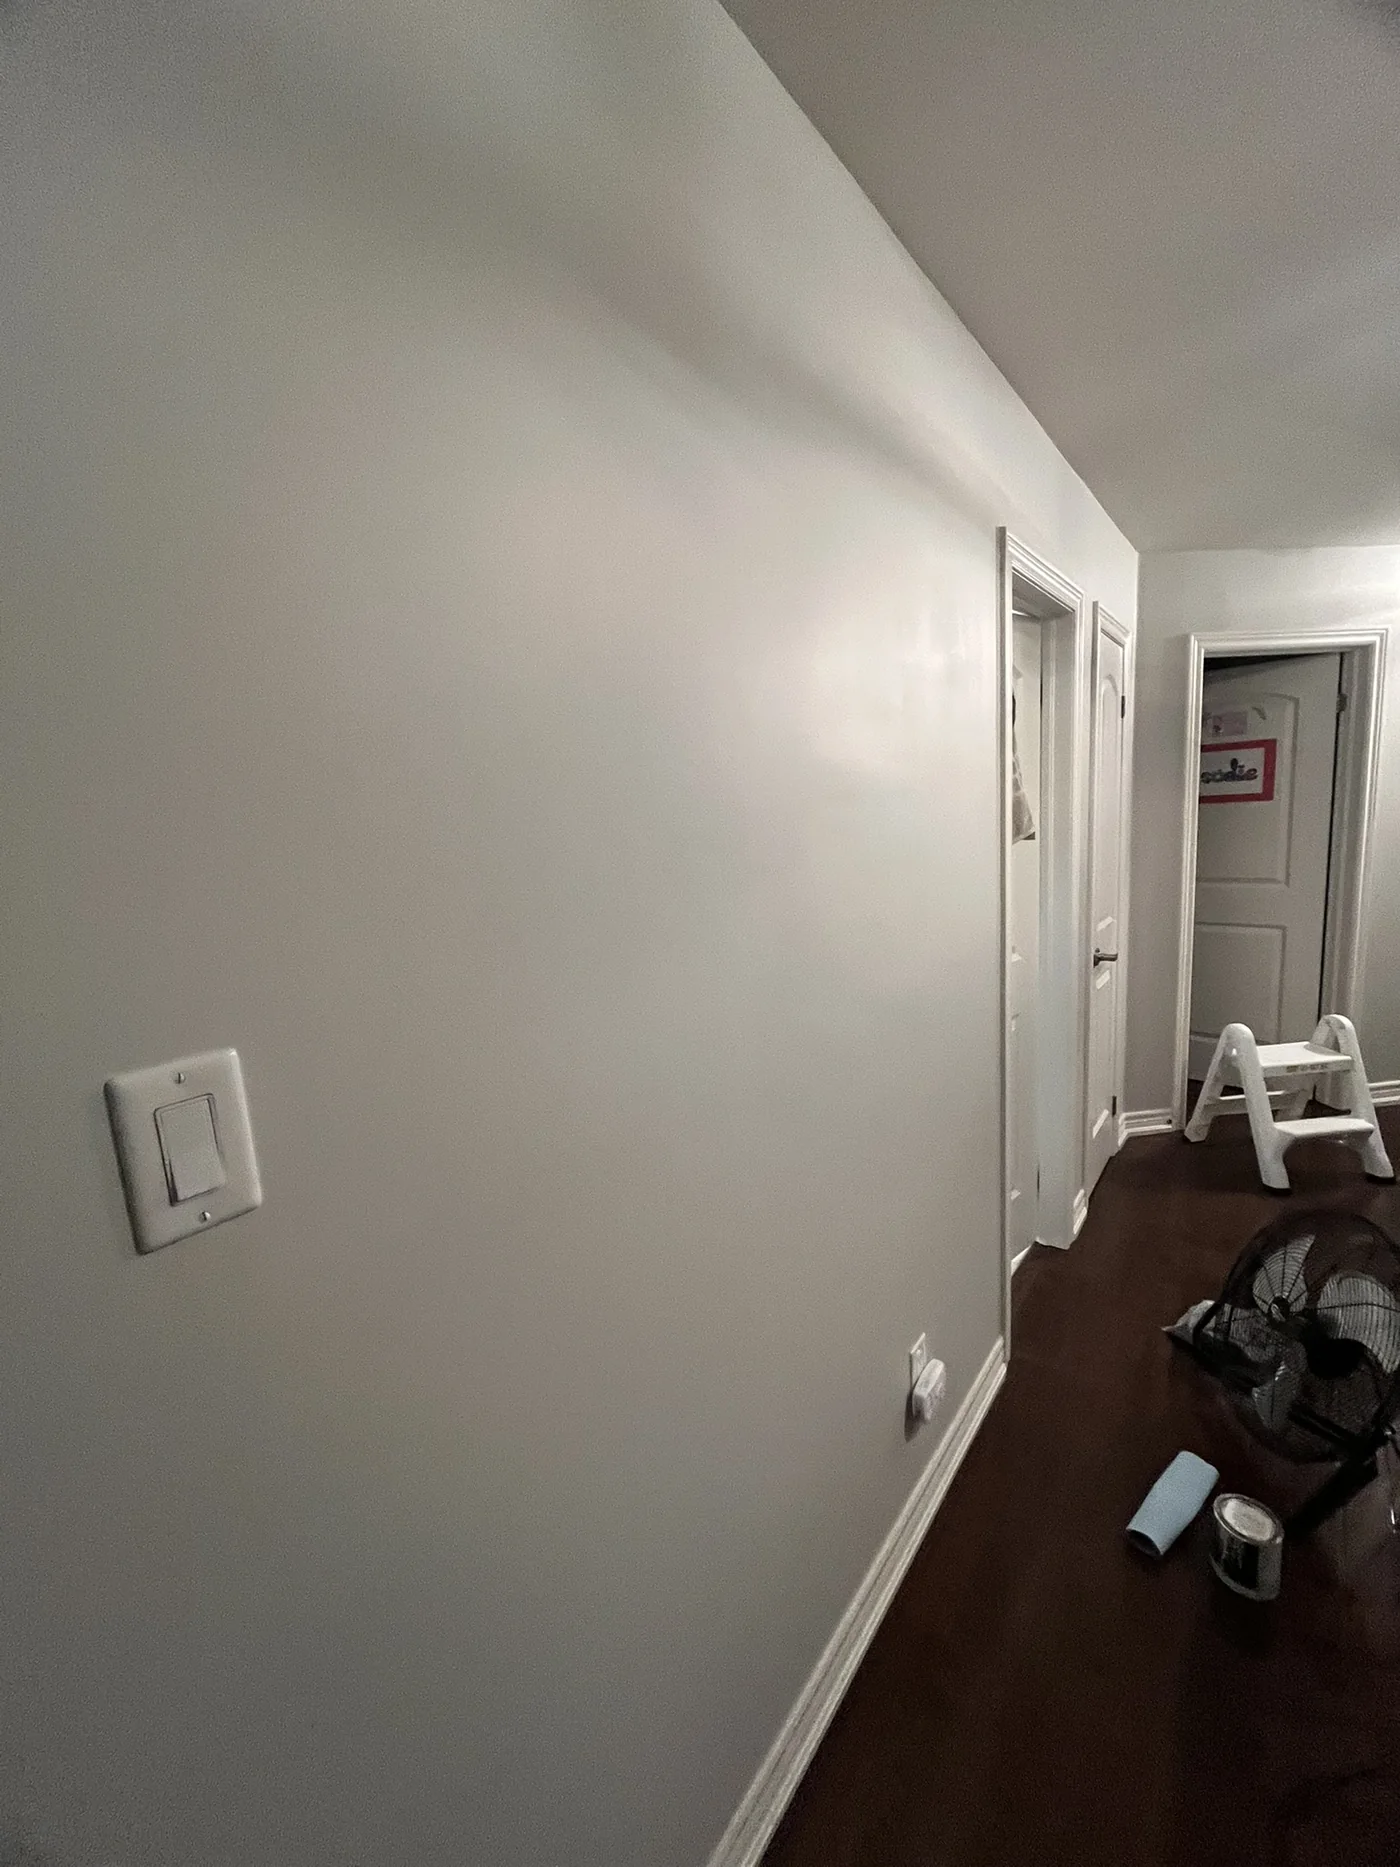
Hallway wall opening before drywall repair
BeforeOpen access area
Hallway wall after drywall repair and paint
FinishedRepaired & painted
Open hallway wall before repair
Stage 1Open Wall
Hallway wall opening closed and coated
Stage 2Closed & Coated
Hallway wall repair feathered for finishing
Stage 3Feathered Finish
Hallway wall repair after paint
Stage 4Painted Finish
Plastic dust protection around drywall repair area
Respect for the Home

Repair work without treating the house like a construction site.

Part of a professional repair is protecting the surrounding space. The work area is isolated and covered so sanding dust and debris are better contained while the repair moves through each stage.

✓Plastic protection around the immediate work area
✓Floor protection during cutting, boarding and finishing
✓Existing trim and finishes kept in mind throughout the repair
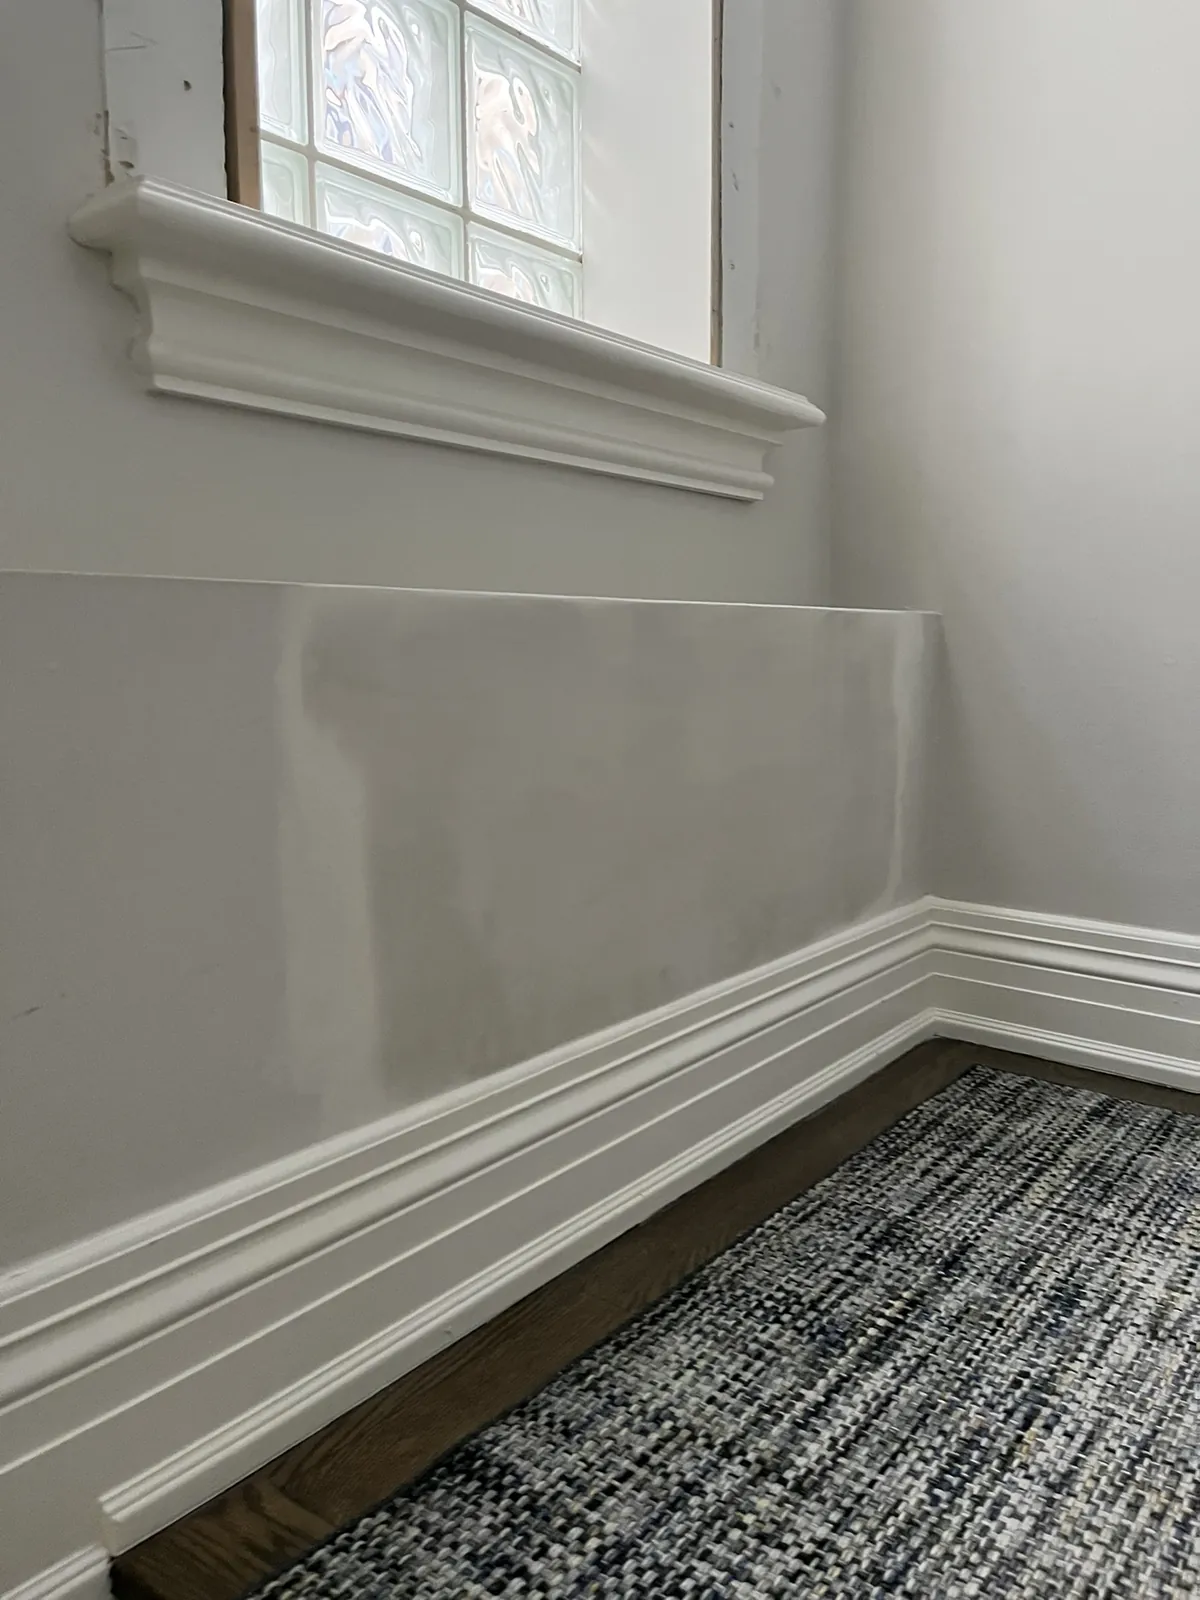
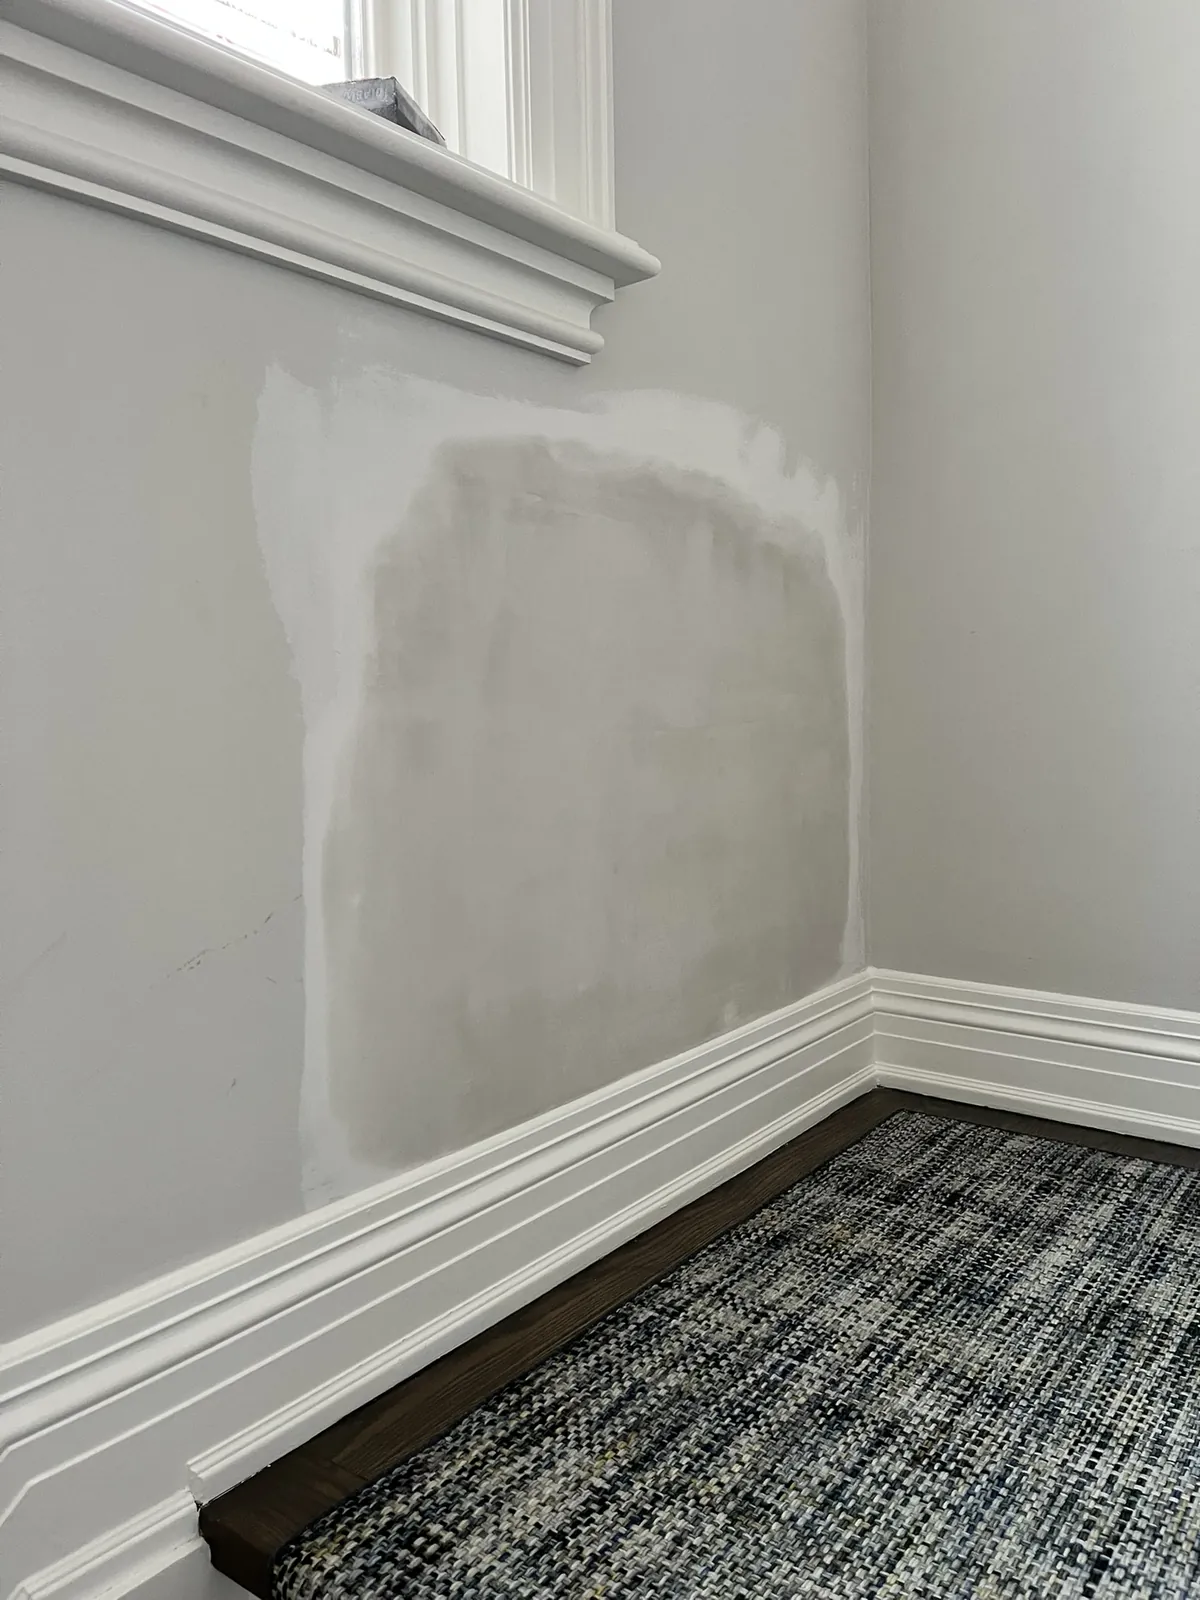
More Progress Photos

Additional angles from the same repair.

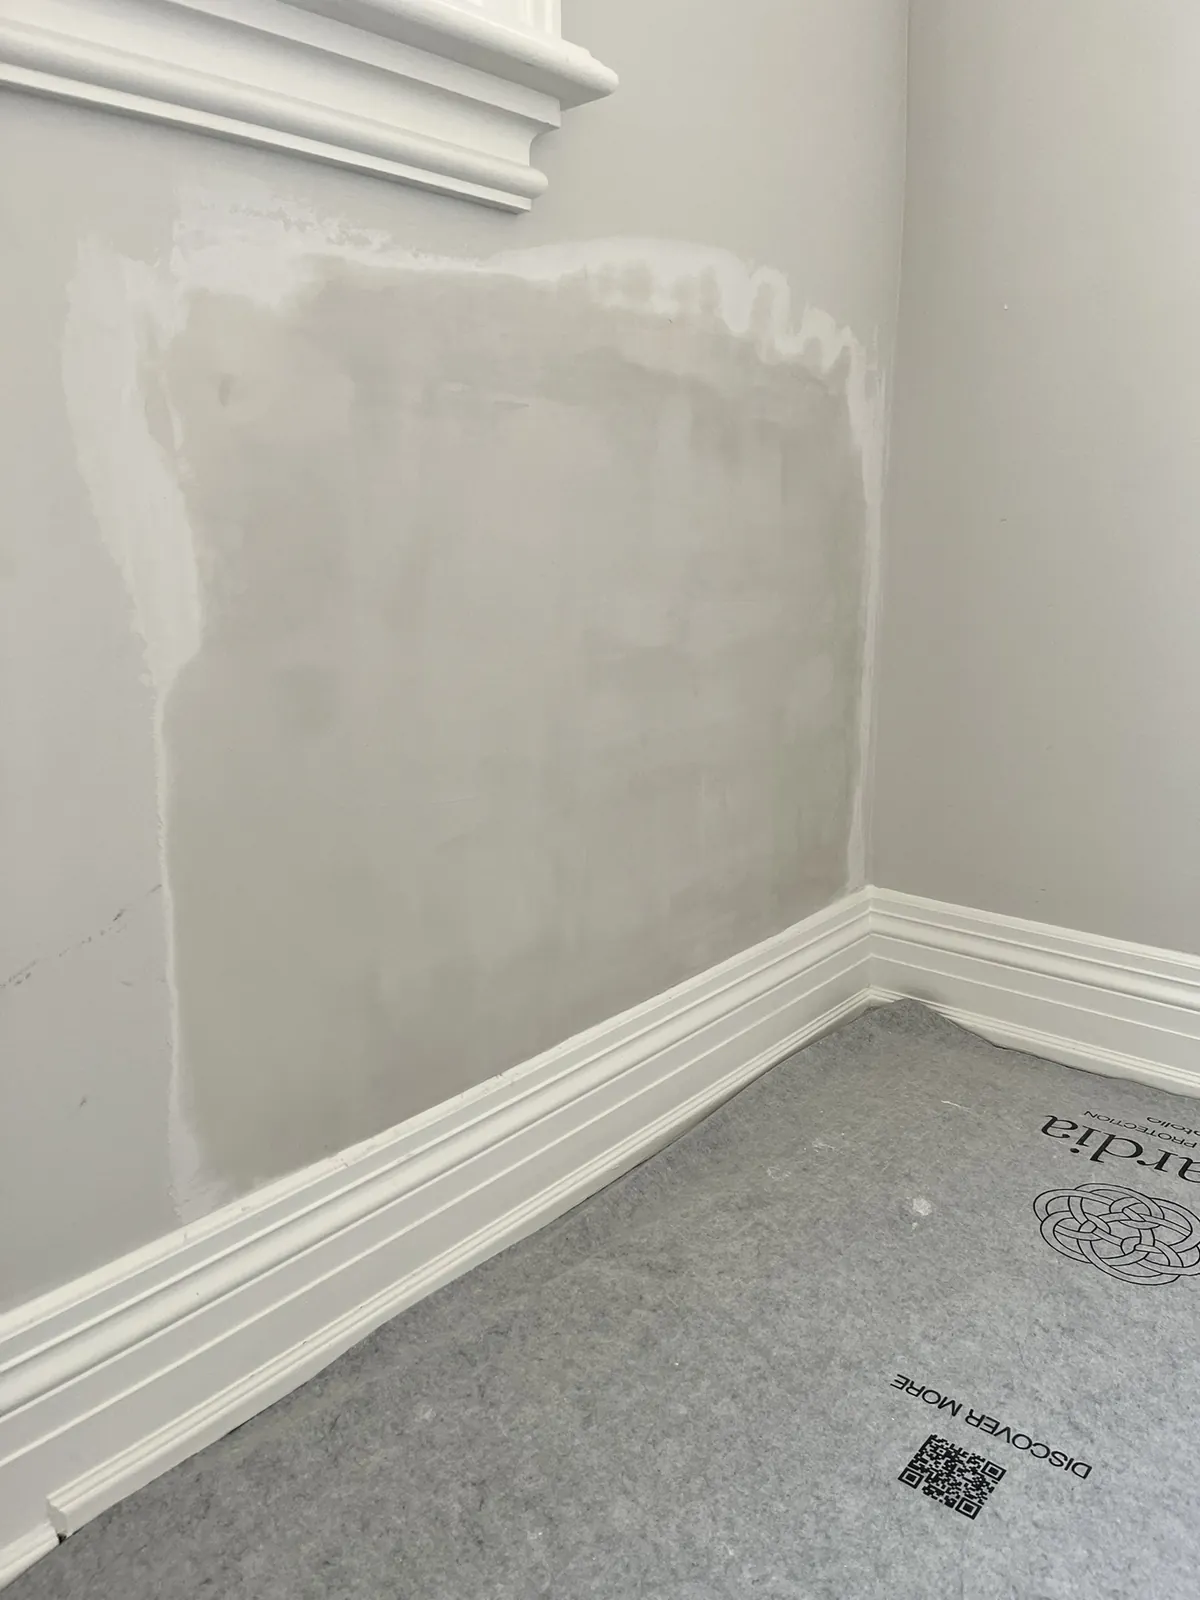
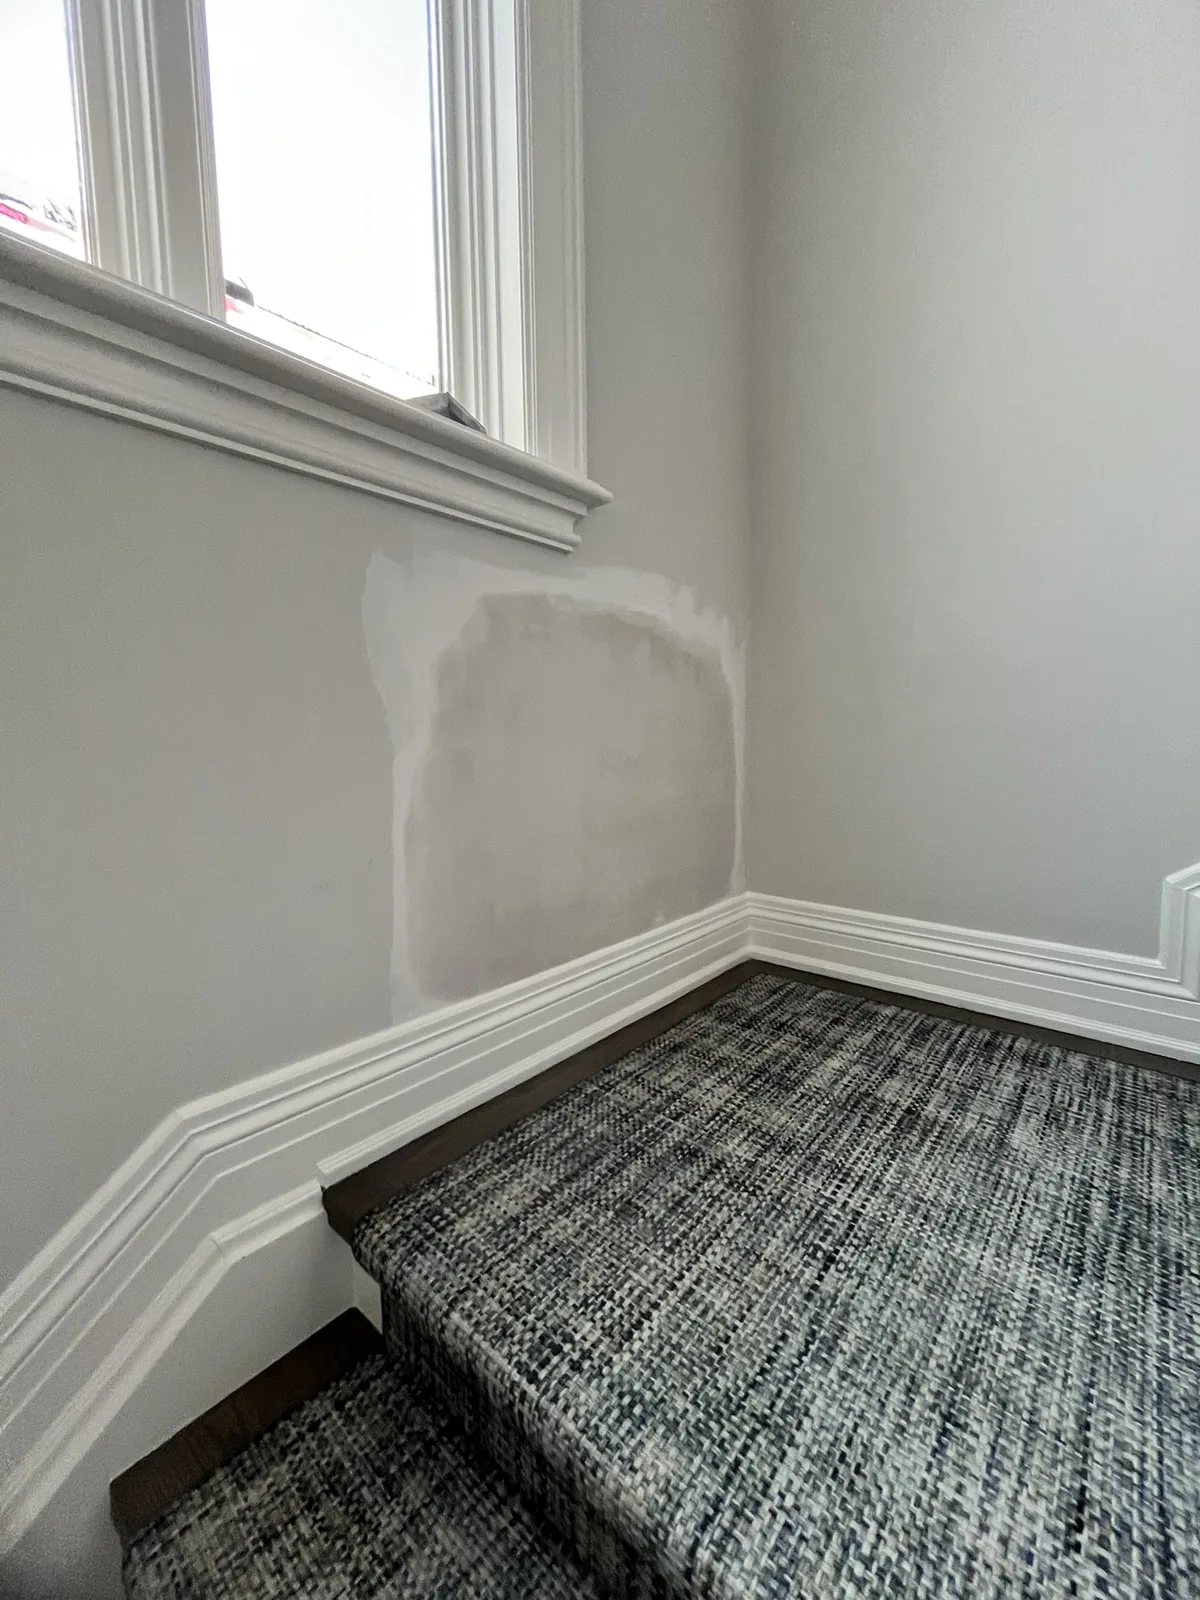
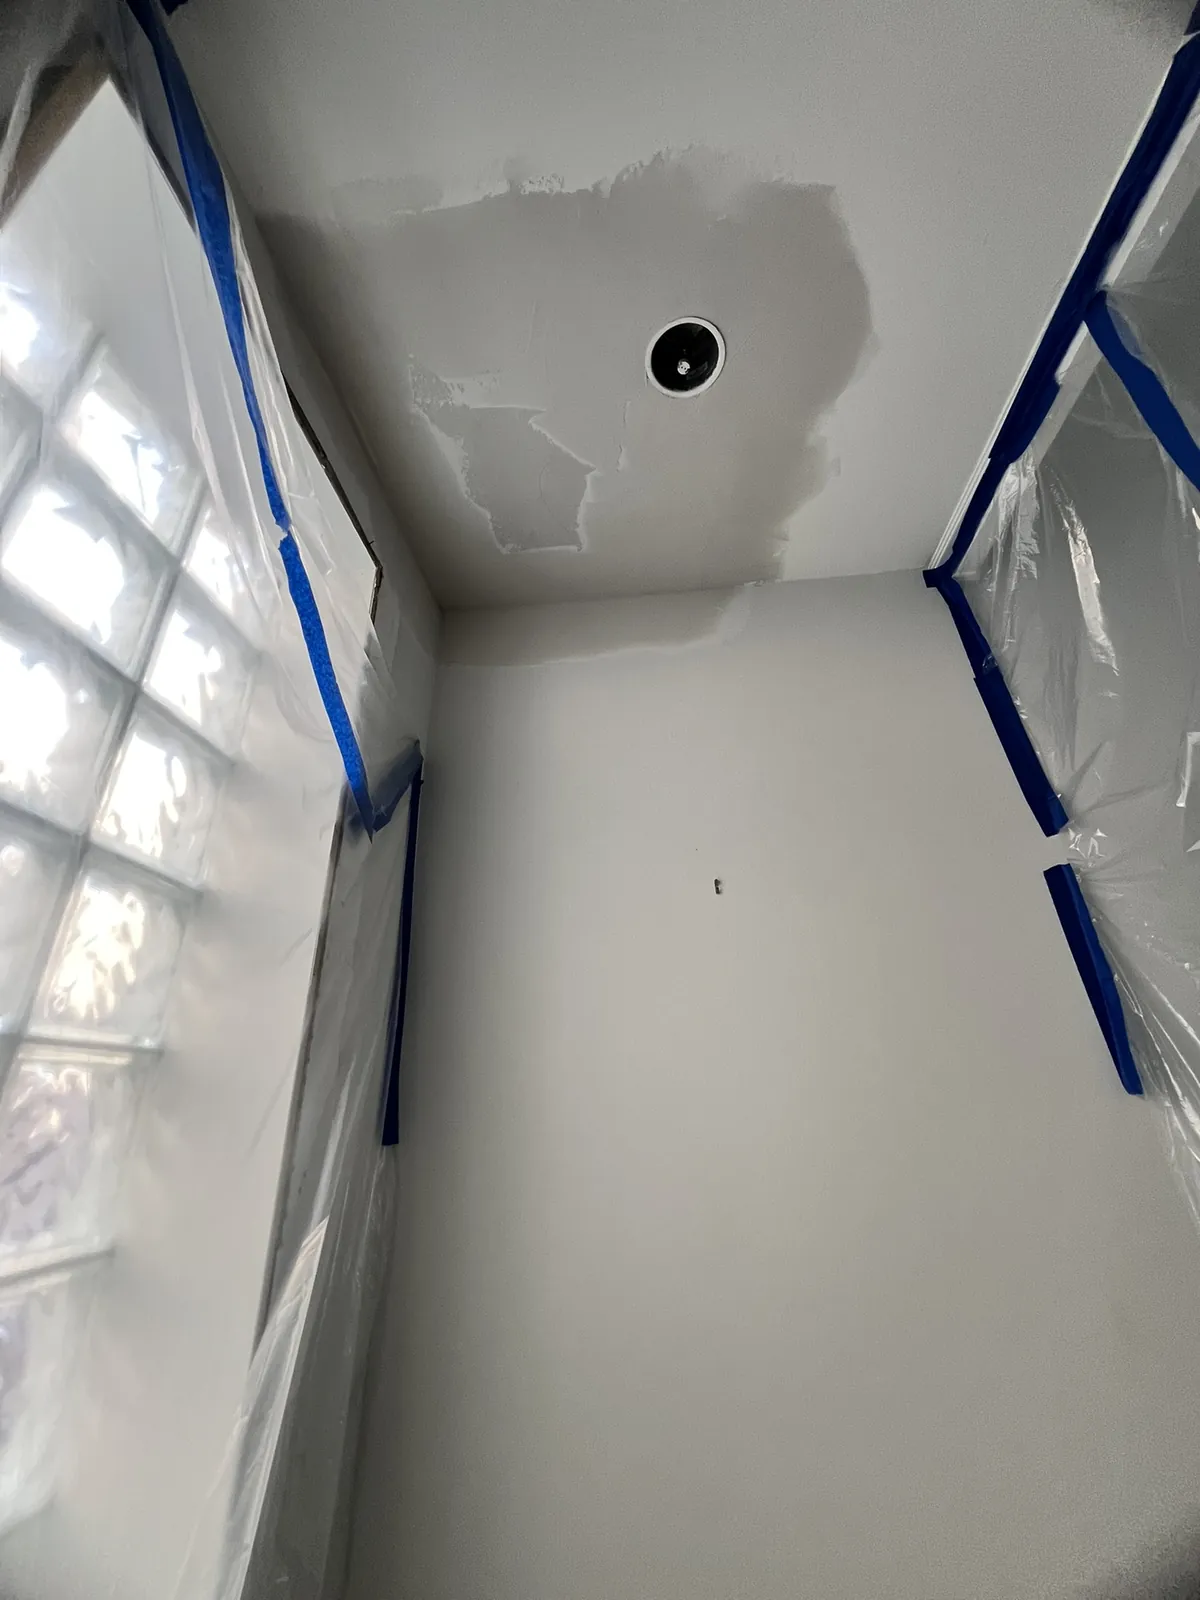
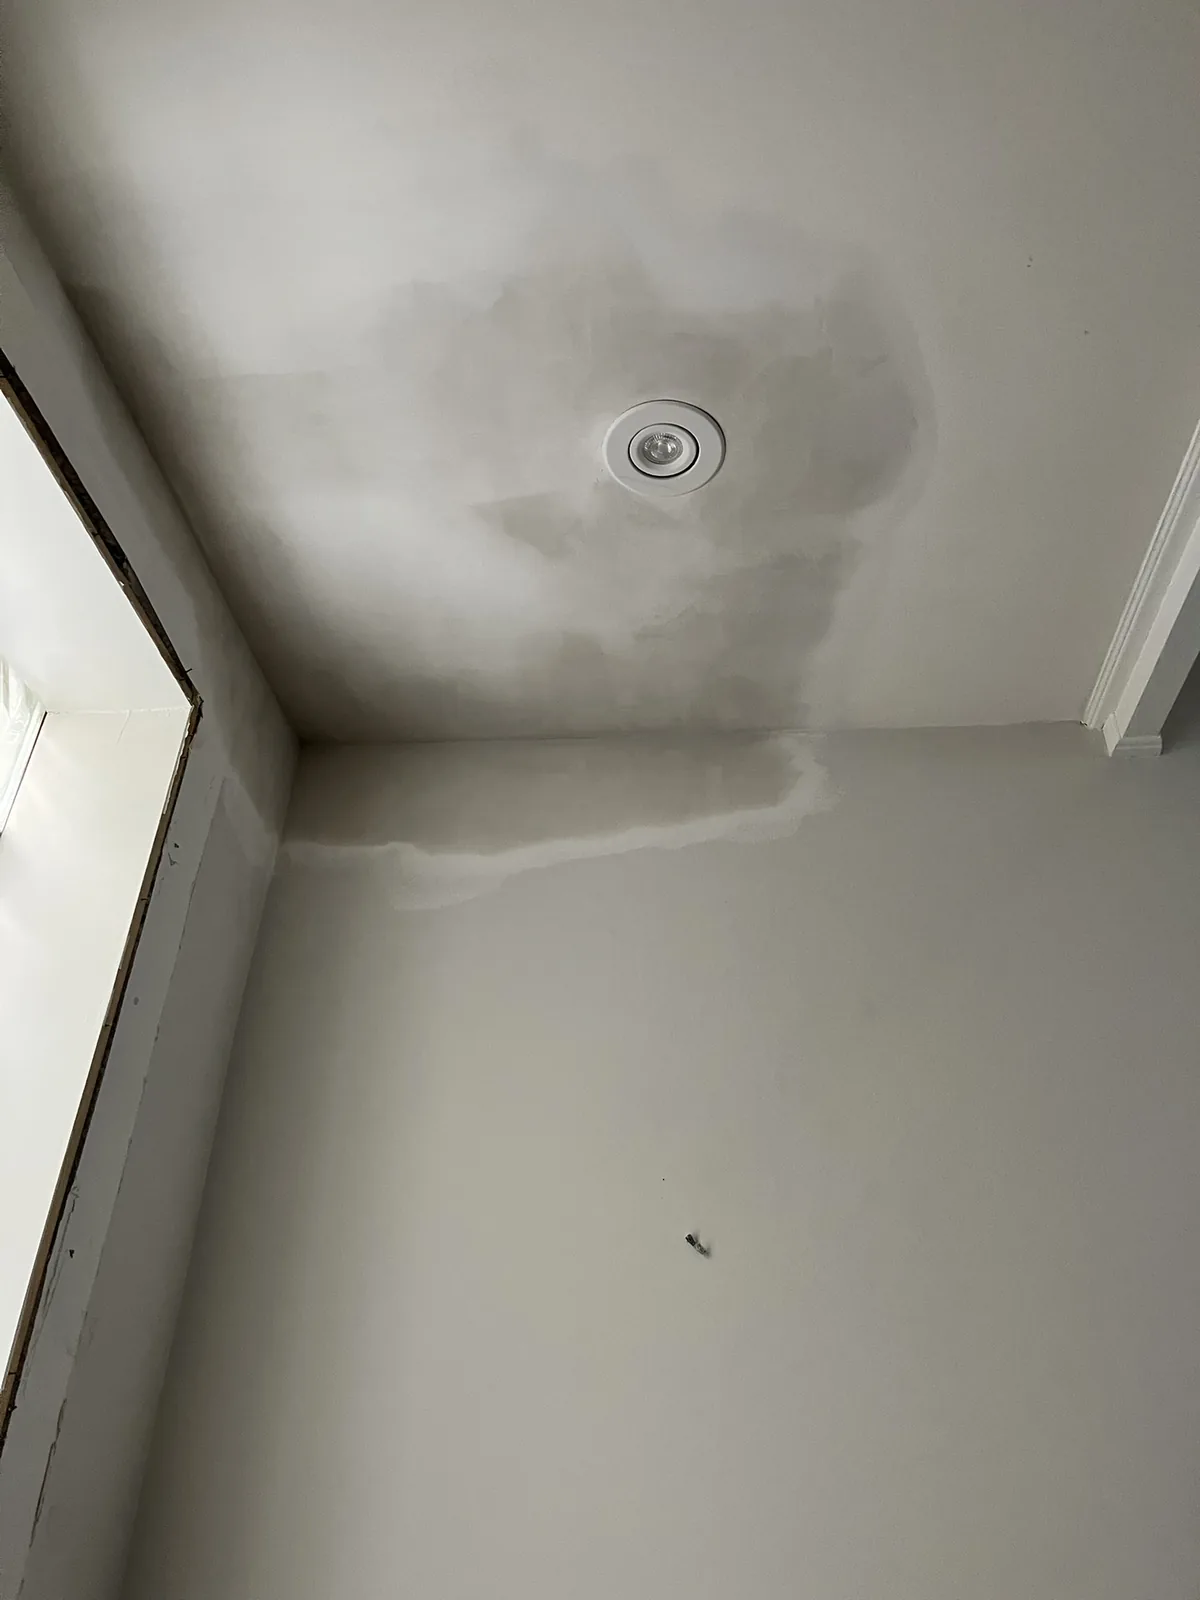
These extra shots show the feathering, ceiling coverage and wall finishing from different angles so customers can see the scale of the work more clearly.
Simple Process

From damaged wall to good finish.

01

Send Photos

Show us the damaged area, approximate size and your location.

02

Scope the Repair

We determine what the repair requires and whether an in-person look is needed.

03

Repair & Finish

The area is patched, taped, coated, sanded and prepared for the finished result.

04

Finish the Room

If needed, continue with painting, trim or other interior finishing.

Beyond the Repair

From drywall repair to complete interior finishing.

Solid Touch Interiors can take care of the repair first and continue with painting, trim, accent work and other interior finishing when the room needs more than drywall alone.

Interior Painting Trim & Molding Baseboards Accent Walls Interior Finishing Room Refreshes
Solid Touch Interiors logo - It Starts With a Good Finish
Durham Region & Surrounding Areas

Have drywall damage?

Send a few photos and let Solid Touch Interiors help you figure out the best next step. Prefer direct contact? Call or text 647-882-7299.

Start With a Photo
Call Text Estimate